
 Home
Home
 Recipe Index
  Kerala Recipes
 Tamil Recipes
 Our Cooking Station
 About
About 

Friday, December 17, 2010
 Soups, Salads and Sandwiches




 Appetizers / Snacks




 Smoothies, Beverages and Wines


 Main Course
 Breakfast


 Lunch / Dinner


 Vegetarian Side Dishes


 Dry Accompaniments






 Bakes
Bakes 


 Non-Vegetarian Entrees


 Chutneys, Pickles, Powders and Preserves




 Desserts / Indian Sweets / Kheer






 Hobbies ,Creations


Tuesday, December 14, 2010
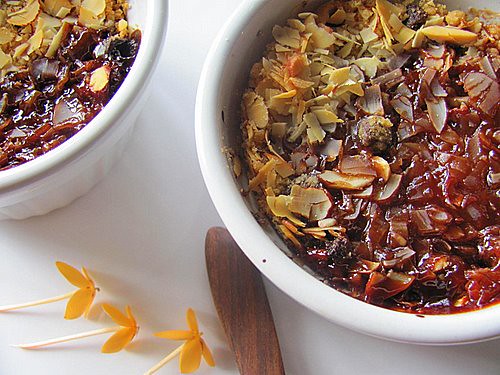
Pear, Chocolate and Almond Crumble
 Foodgawked!
"Better late than never!", goes the saying :) and here's my 'little late' entry to the month's sweet punch.
Falling sick after a long holiday, a quick visit to the home town and a minor defect in the camera would explain the major reasons for not jumping in on the suggested date, while getting fresh looking pears, which is not an easy task in my town (yes, I din't want to go for any substitutions this time ) says the rest ;)
So...here goes...
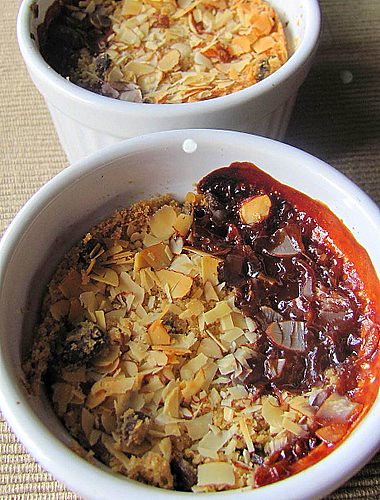
*I used 2 large pears and halved the other ingredients in the entire recipe.
Ingredients:
- 1kg (4-5) ripe pears, peeled, cored and chopped into 1cm pieces
- 50g light brown soft sugar [ Can substitute with regular sugar]
- Grated zest and juice of 1 unwaxed lemon
- 100g Swiss milk chocolate, roughly chopped
- 100g plain flour [ You could substitute this with Whole wheat flour too]
- 50g butter, chilled and diced
- 50g light brown soft sugar
- 50g blanched almonds, lightly toasted in a dry pan and roughly chopped
- Preheat the oven to 180°C, gas mark 4. Grease 6 ovenproof teacups or ramekins or a pie-dish.
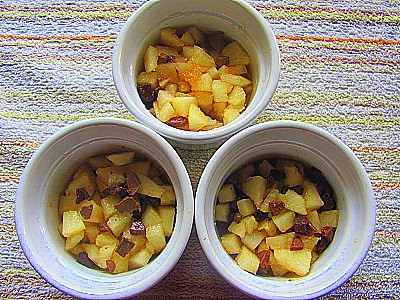
- In a medium bowl, mix together the pears, brown sugar, lemon zest and juice, and half the chocolate. Divide the mixture between the teacups or ramekins, spooning over any juice.
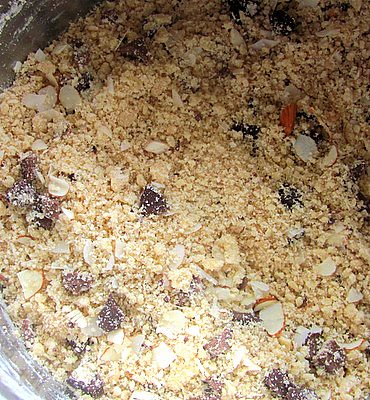
- To make the crumble, place the flour and butter in a medium bowl and, with your fingertips, rub together until the mixture resembles fine breadcrumbs. Stir in the sugar, almonds and remaining chocolate.
- Spoon the crumble over the pears and press down lightly. Place the crumbles on a baking tray and bake for 30-40 minutes until golden and bubbling. Serve with a scoop of good vanilla ice-cream.
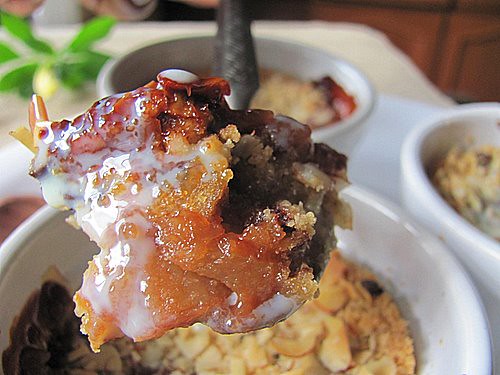
I enjoyed the hot crumble from the first ramekin with warm Vanilla Custard Sauce :).
Blend vanilla flavoured custard powder with 1.5 cups of milk and 4 tbsp sugar (adjust to taste). Cook on a low fire until pouring consistency. Cool, chill and serve with the crumble. The recipe is from my sister's post here.
Friday, December 10, 2010
Vazhapindi Achar / Banana Stem Pickle for Arusuvai Season ll
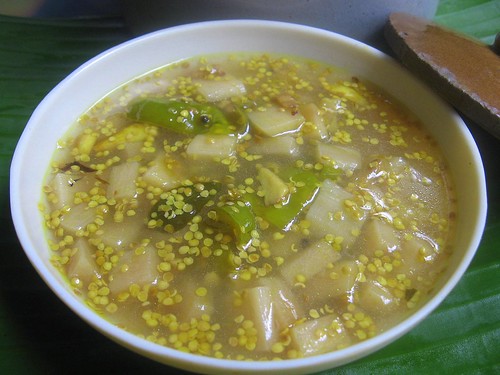
T raditional recipes of Pickles belonging to Kerala are simple.The blend of ingredients in each pickle is simple, yet universal. The process of making these preserves at home has turned out lesser these days, due to busy lives of the working women.After all who wants to stress and strain wasting time on these while you have a wide choice in the market? Thanks to the village lives where women can afford more time for home made snacks and preserves.
Here's my attempt of recreating the age old Central Kerala recipe of Vazhapindi Achar, derived from amma's best pal, Shantha auty.


 The Arusuvai ingredient from Sayantani!
The original recipe calls for 2 tsps of split mustard seeds/kaduku parippu.I used a tsp of it and substituted the mustard powder fro the other half, the Arusuvai ingredient. Again, if you cannot get hold of small whole pearl onions, you can use the regular small onions each cut into 4 pcs.The pickle keeps well under refrigeration.
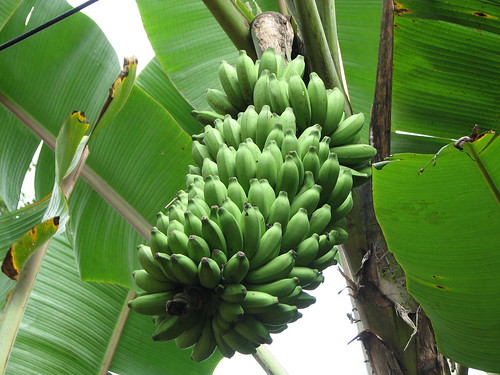
Palayan kodan variety vazhapindi would give the best results as they bits are crunchier and tend to have a more shelf life without turning soggy.
Vazhapindi Achar/Banana Stem Pickle
*Chopped banana stem- 1 cup
Kaduku parippu/ split mustard seeds- 1 tsps
Mustard seed powder-1tsp (mix with 2 tsps of water to make a thick paste)
Turmeric powder- a pinch
Asafoetida/kayapodi- a pinch
Salt- to taste
To season:
Sesame seed oil/nallenna- 2 tsps
Mustard seeds- a pinch
Green chillies 2-3 nos- slit lengthwise and once across breadthwise making 4 pcs each
Ginger- 1/2 tsp julienned
Garlic- 1 tbsp julienned
Small onions/ulli- whole small sized-1/4 cup
Curry leaves- a sprig
To boil together:
White vinegar- 1/2 cup (I needed 1/2 cup.Add a little more or less depending upon the quality)
Water- 1 cup
*Remove the outer layers of the banana stem and cop them into thin rounds carefully removing the fibre simultaneously while slicing each. Cut each slice into 4 strips across lengthwise and again 4 times breadwise leaving equal gaps to get small square shaped bits. Click here for a tutorial. Do not make the pieces too tiny as they might get soggy after pickling.
Dissolve salt in 1/4-1/2 cup of boiled water.Cool to room temperature and mix this solution to the banana stem bits (uppu vellathil ittu vekkal). Stir in turmeric and asafoetida powders along with the split mustard seeds and mustard powder paste.
Heat oil and the seasoning ingredients one by one in order. Take care the chillies, ginger, garlic and onions have to be lightly seasoned to retain the crunchiness, which is quite important!
Add this to the banana stem mixture.
Boil the water and vinegar together. Let it stand to get the steam evaporated. Pour this over the pickle while still HOT.The heat of this liquid mixture will be enough to ward off the raw smell of the ingredients, if any.
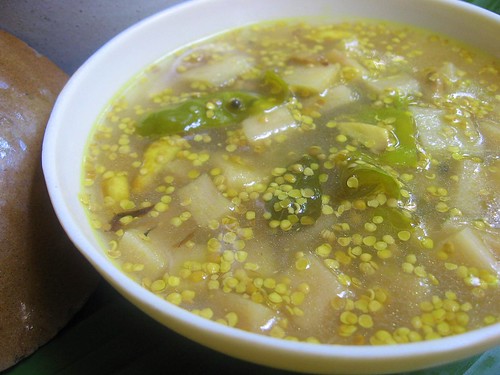
 The Arusuvai ingredient from Sayantani!
The original recipe calls for 2 tsps of split mustard seeds/kaduku parippu.I used a tsp of it and substituted the mustard powder fro the other half, the Arusuvai ingredient. Again, if you cannot get hold of small whole pearl onions, you can use the regular small onions each cut into 4 pcs.The pickle keeps well under refrigeration.
Banana tree - picture courtesy-Derick Thomas
Monday, December 6, 2010
With Love, From Sayantani
I am so excited right now. yesterday I wasn't at home (my cousin was leaving for Kolkata so went there to help her with packing) so when Hubby said a packet has arrived for me I knew it was from you... this morning I came back and opened it...thanks for everything again.....I have made something handmade for you and am dying to send it to you with my secret ingredient....
take care and happy festivities.
love
Sayantani
What you read above is the mail I received from Sayantani, a few days back :)
The courier boy got the paper hurriedly signed from the 'impatient me' and left with a smile probably spotting the excitement in me ;)
I could no longer wait to open the parcel and lay out the pretty looking goodies!
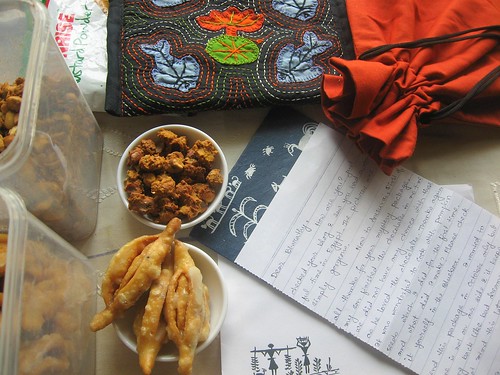
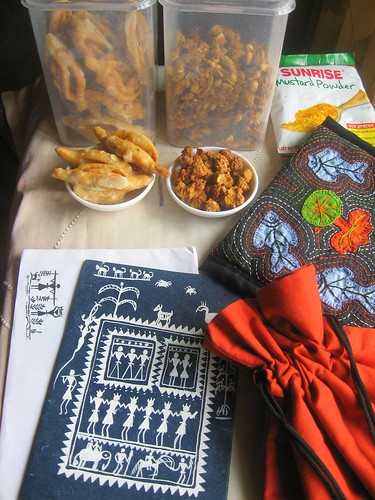
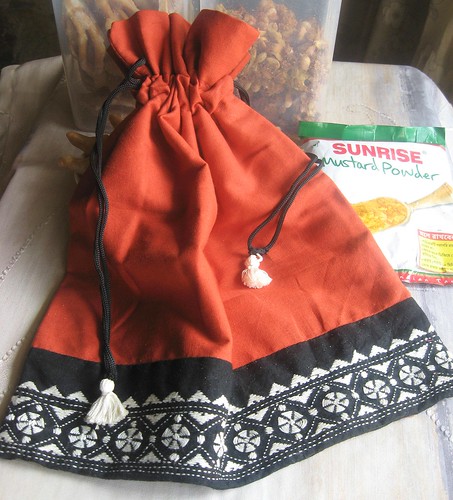

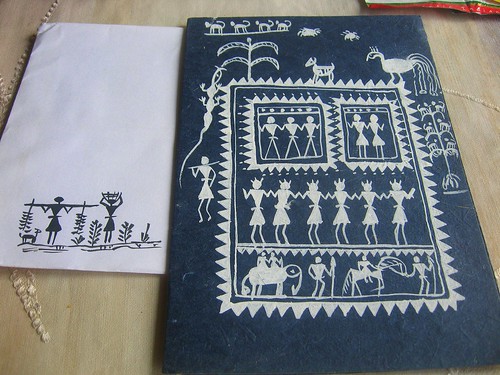

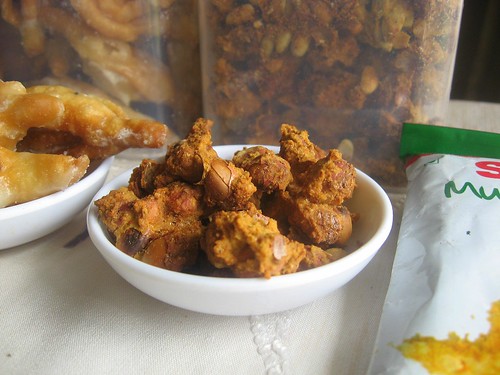
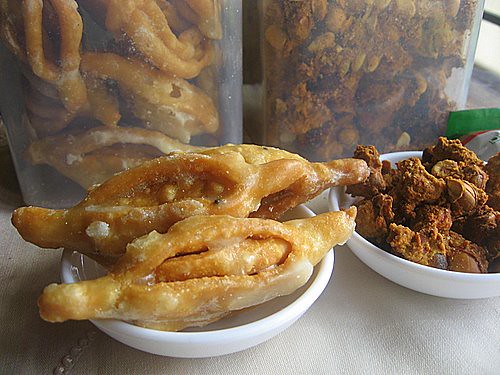
They were more than just snacks or hand works; a carefully packed bundle filled with loads of love, concern and appreciation!..
.....the most precious gift that makes a blogger proud! :)
Subscribe to:
Posts (Atom)


