
Radishes in the plant bed

The fully grown root veggie pops up the ground and is ready to be pulled out!

I wet the soil well and Yay! I harvested my own radish (radishes, but pictured only one) in the kitchen garden!
I never knew the greens are edible and badly wanted to make good use of the healthy organic greens. I decided to make poriyal / thoran, which is gonna be my first attempt!
Here we go..

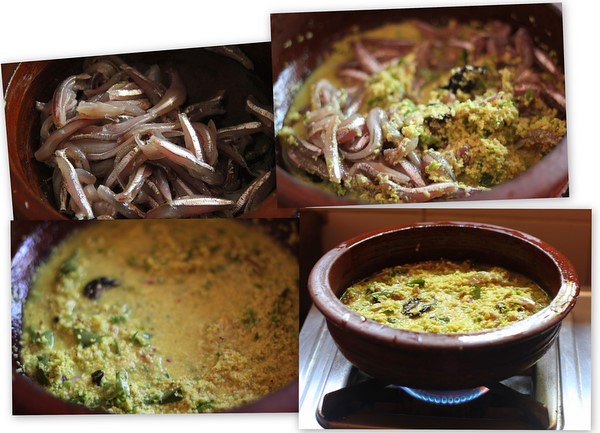
So, to start with, slice away the radishes underneath and wash the greens well in running water.

Remove the hard stem (if you feel rough while chopping.The stems here were tender) and chop the greens. Mine were a little spiny and I noticed them getting soft while getting cooked!

Top it with green chillies, onions, turmeric powder, salt and coconut.

and mix gently with your fingers well to combine.

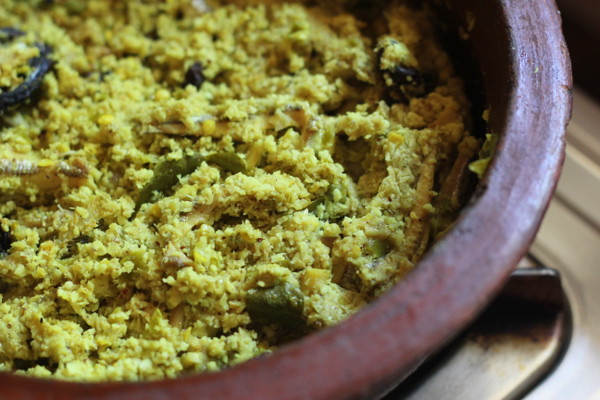
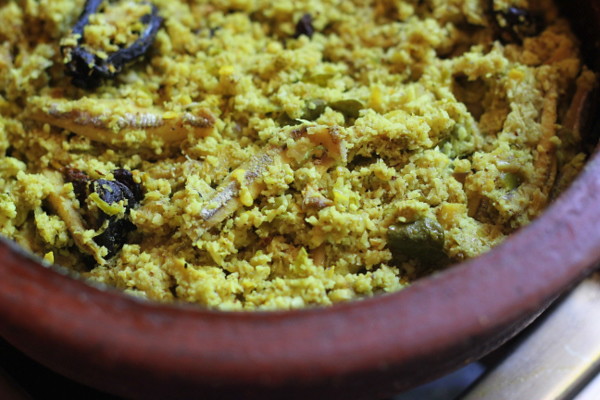
Heat oil in a kadai, splutter the mustard seeds, brown the urad dal and dump the green mixture.

Sprinkle some water, say, a tbsp and close with a lid once it starts steaming. Open the lid once every 3-4 mins now and then sprinkling a tbsp of water to keep it hydrated and not letting it turn too dry.

Radish greens need a longer time to get cooked; for about 15-20 minutes.

They do wilt and change colour as any greens while getting cooked but still stay a bit crunchy!
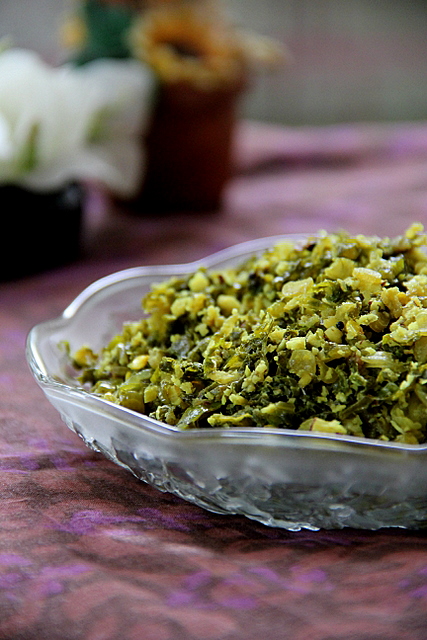
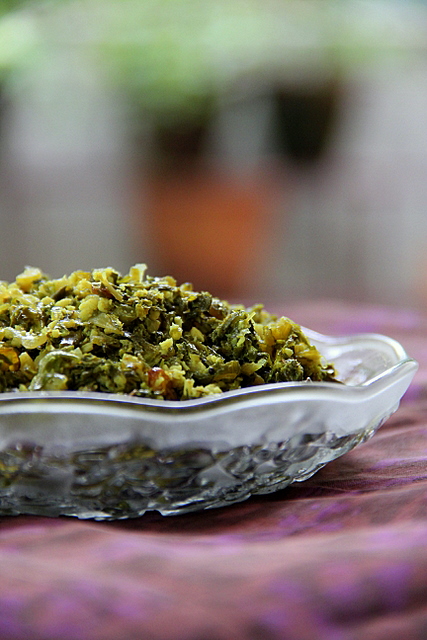
Yummy and healthy as well :)

Serve warm with steamed rice or Indian breads.
The leaves taste a li'l bitter, but flavorful!
Now, for the recipe all in one place..
You need:
A bunch of radish greens (3 large cups +/- , loosely filled)
Green chillies- 3-4, slit lengthwise and halved (you can susbstitute red chillies, which go better)
Turmeric powder- 1/4 tsp
Shallots- 10-15, sliced ( I used 1/2 big onion)
Salt- to taste
Grated coconut - 1/4 cup
To Season,
Oil- a tbsp
Mustard seeds- 1/4 tsp
Urad dal- 1/2 tsp
Method:
Slice away the radishes and wash the greens well in running water.
Remove the hard stem (if you feel it rough while chopping.The stems here were tender) and chop the greens.Mine were a little spiny and I noticed them getting soft while getting cooked!
Top it with green chillies, onions, turmeric powder, salt and coconut and mix gently with your fingers well to combine.
Heat oil in a kadai, splutter the mustard seeds, brown the urad dal and dump the green mixture.
Sprinkle some water, say, a tbsp and close with a lid once it starts steaming.
Open the lid once every 3-4 mins now and then sprinkling a tbsp of water to keep it hydrated and not letting it turn too dry.
Radish greens need a longer time to get cooked; for about 15-20 minutes. They do wilt and change colour as any greens while getting cooked but still stay a bit crunchy!