
Our morning cup of coffee tastes bitter.When it comes to vegetables or greens our palates are wired to reject; but soon finds a real, almost addictive kind of acceptance.Isn't that a surprising fact?
Methi's bitterness is definitely not as brutal as that of a bitter gourd but the dominant taste is all about the crunchiness of the sprouts, enlivening, yet not overwhelming fresh bitterness that is so unique with these flavourful greens!
My very first attempt of growing methi at home proved to be a simple success!
 Day-1: The seeds are sprinkled in 4 rows on top of loose, moist soil that receive abundant morning sunlight! Careful sprinkling of water is done from this day onwards.
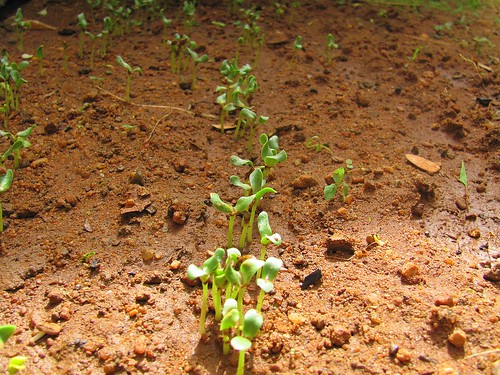 Day-13: The tender shoots popping up!
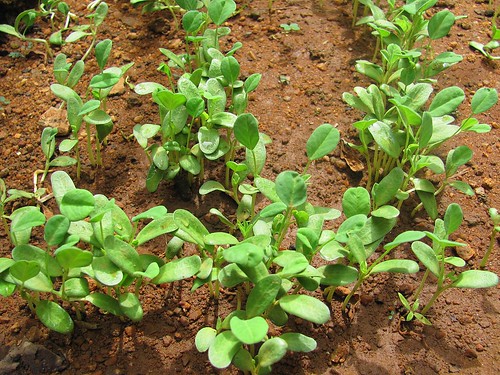 Day-13: They receive a cool shower of rain in the morning!
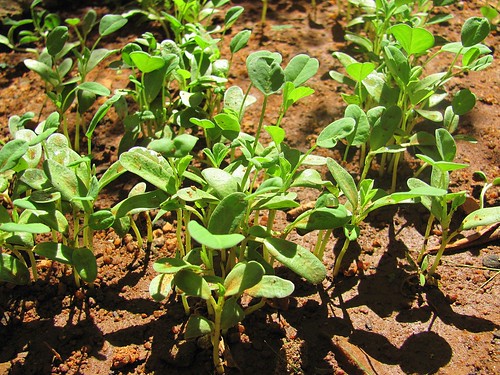 Day-14: The young whiter stems topped with neat little leaves (though a little dirty coz of the showers).... I can't wait anymore! ;)
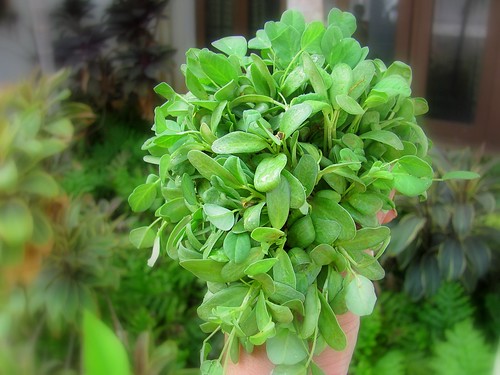 I could smell the unique flavour of the fresh young plants while holding them on one hand with the camera on the other!
Aloo Methi
I'd been wanting to make this simple, classic dish for a long time and am pleased that I could do it with fresh homegrown greens :)
To serve a small family-
Ingredients:
4 medium sized potatoes,cubed
A large bunch of fresh methi leaves(remove just the roots, wash well and chop the plants roughly into 2 or 3 pcs each)
1 Big onion-chopped-need not be fine
Garlic- 2 cloves-minced
Red chilly powder- 3/4 tsp(feel free to substitute sambhar powder for a Southie touch ;))
Oil- 1-2 tbsps
Cumin seeds-1/2 tsp
Red Chillies-2 nos-each broken into 3 pcs
Turmeric powder-1/4 tsp
Salt- to taste
Method:
Heat oil in a wide heavy bottomed pan.Throw in the cumin seeds and the broken red chillies, give a quick stir, followed by the onions and garlic. Sauté, add the methi leaves and sauté again. Add the turmeric and chilly powders. Stir to mix, sprinkle some water soon after the leaves wilt(this will take only a few seconds) and close it with a lid for a minute.
Open and add the cubed potatoes.Add salt and mix well. Sprinkle water while mixing to enhance the cooking of potatoes along with the greens and spices. Close again with the lid, keeping the flame to low-medium.Give it a gentle stir/toss every now and then until the cubes and the methi stems are cooked soft. Take care not to over cook the whole dish.A mushy aloo and methi is not what we really need to make :).Open the lid and let it be to evaporate any excess water.
Serve hot with steamed rice or any Indian breads!