When, my bestie's kid, Nikita gave me the very first suggestion of Red Velvet Cake, I was apprehensive. For me they have to be topped/paired up with cream cheese. Nikita and me live in a town where there's no availability of these exotic products and finally I made up my mind to take it as a challenge and go for it! With Christmas just a month ahead, I was prompted to make these red cuties in cups, for a safer side. I am immensely happy with the final result and yeah will be making cakes instead of cuppies next :)
What is basically a Red Velvet Cake?
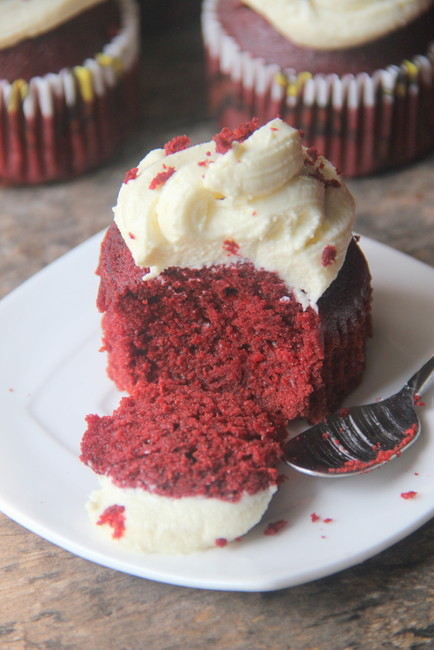
American in origin, red velvet cake is similar to chocolate cake with either a red, bright red or red-brown color. While it is similar to chocolate cake, a baking aficionado will be able to spot the difference. The primary differences are in the use of buttermilk instead of milk and less cocoa powder. The acids in buttermilk react with the antacid of baking soda to form gas bubbles, which creates a non-yeast leavening. This helps create the fluffy and moist texture that has made Red Velvet popular. Red Velvet cake is traditionally prepared as a layer cake topped with cream cheese or cooked roux icing.
The addition of acidic vinegar and buttermilk tends to better reveal the red anthocyanin in cocoa and keeps the cake moist, light, and fluffy. This natural tinting may have been the source for the name "red velvet!"
Common ingredients include buttermilk, vinegar, butter or oil, and flour for the cake, beetroot or red food coloring for the color. info from wiki.
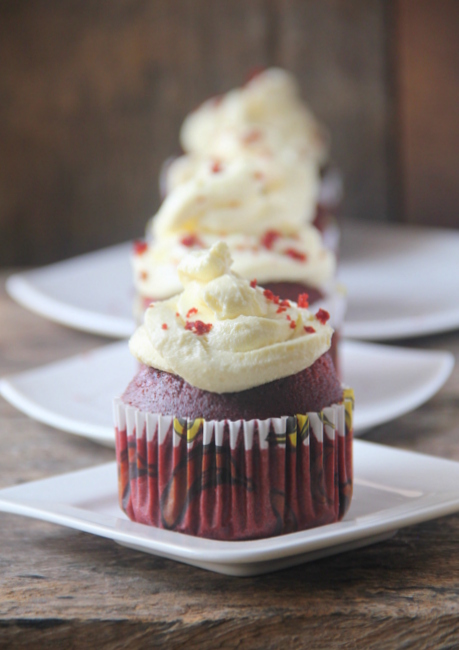
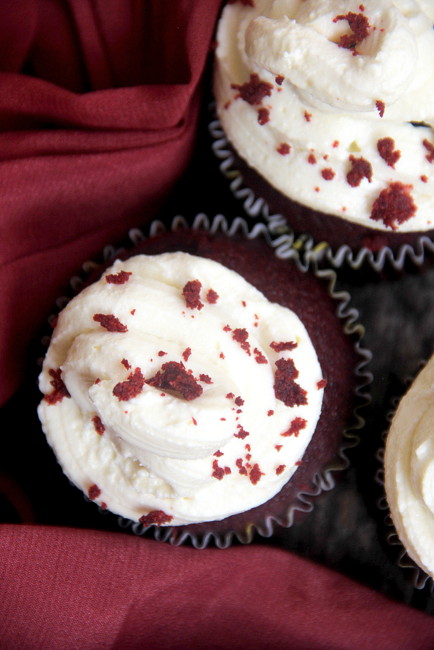
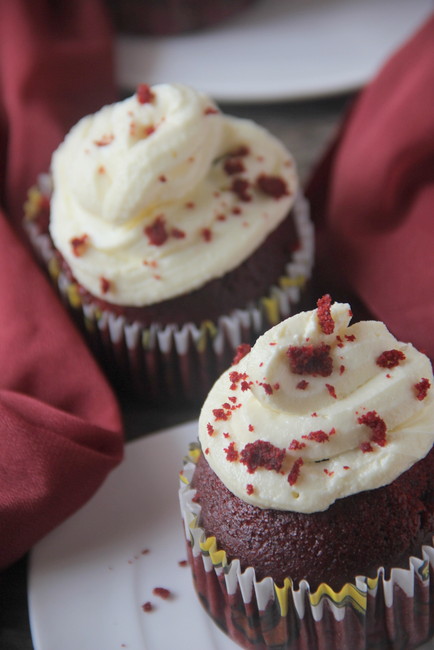
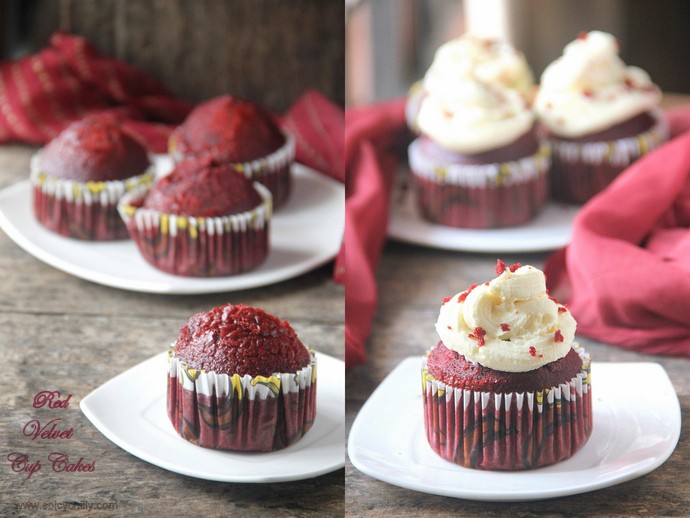
Red Velvet Cup Cakes with Cream Cheese Frosting
Source
Total Time:40 min
Prep:20 min
Cook:20 min
Yield:24 frosted cupcakes
Ingredients
2 1/2 cups all-purpose flour
1 1/2 cups sugar
1 teaspoon baking soda
1 teaspoon salt
1 teaspoon cocoa powder
1 1/2 cups vegetable oil
1 cup buttermilk, room temperature
2 large eggs, room temperature
2 tablespoons red food coloring
1 teaspoon white distilled vinegar
1 teaspoon vanilla extract
For the Cream Cheese Frosting:
1 pound cream cheese, softened ( scroll down for the homemade cream cheese recipe)
2 sticks butter, softened
1 teaspoon vanilla extract
4 cups sifted confectioners' sugar
Chopped pecans and fresh raspberries or strawberries, for garnish (or reserved cake crumbs)
To Make the Cake:
Preheat the oven to 350 degrees F. Line two (12-cup) muffin pans with cupcake papers.
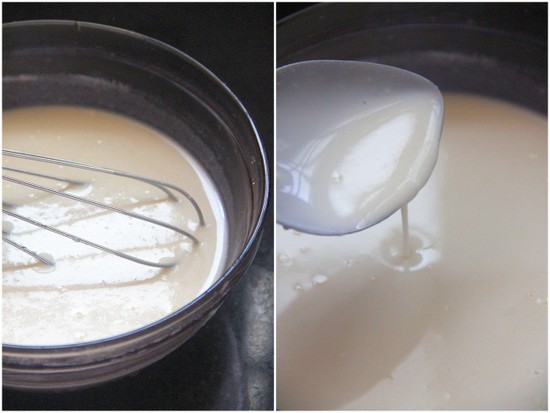
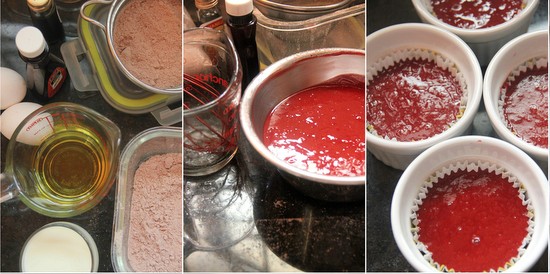
In a medium mixing bowl, sift together the flour, sugar, baking soda, salt, and cocoa powder. In a large bowl gently beat together the oil, buttermilk, eggs, food coloring, vinegar, and vanilla with a handheld electric mixer. Add the sifted dry ingredients to the wet and mix until smooth and thoroughly combined.
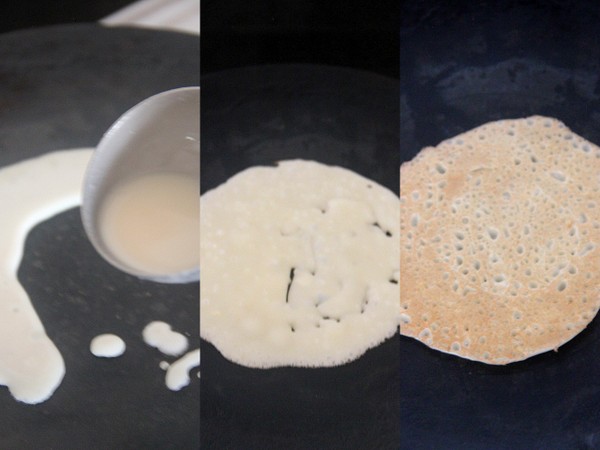
Divide the batter evenly among the cupcake tins about 2/3 filled. Bake in oven for about 20 to 22 minutes, turning the pans once, half way through. Test the cupcakes with a toothpick for doneness. Remove from oven and cool completely before frosting.
For the Cream Cheese Frosting:
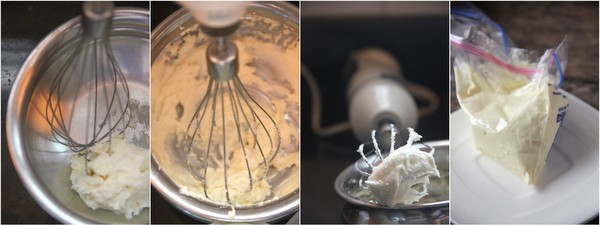
In a large mixing bowl, beat the cream cheese, butter and vanilla together until smooth. Add the sugar and on low speed, beat until incorporated. Increase the speed to high and mix until very light and fluffy.
Frost the cupcakes with a butter knife or pipe it on with a big star tip.I cut 0.5cm of a corner of ziplock bag. and cut two small triangles , like this, -^-^- ,to make the star hole and piped on the cup cakes as you see.
Home-made cottage cheese to make cream cheese frosting:
I tried making the cream cheese at home as mentioned earlier. To make this, I used full fat milk (4.5% fat). I needed 1 litre of milk to make around 100 gms of cheese. Since I quartered the original recipe and baked 4 muffin sized cakes, this amount of cheese was more than enough after combining butter, sugar etc!
For 100 gms cheese
1 litre of full fat milk
1 tbsp white vinegar or 2 tbsp concentrated lemon juice
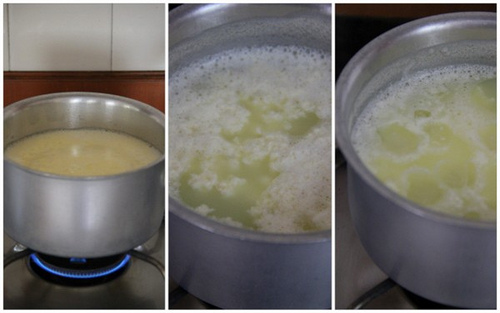
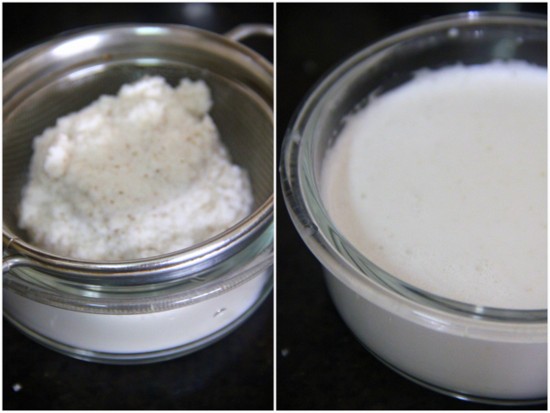
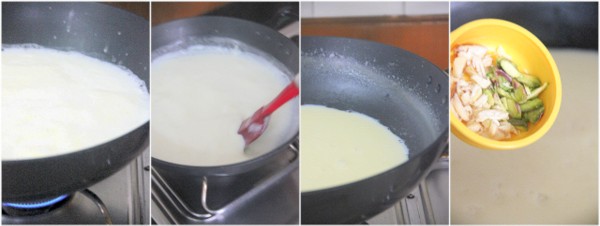
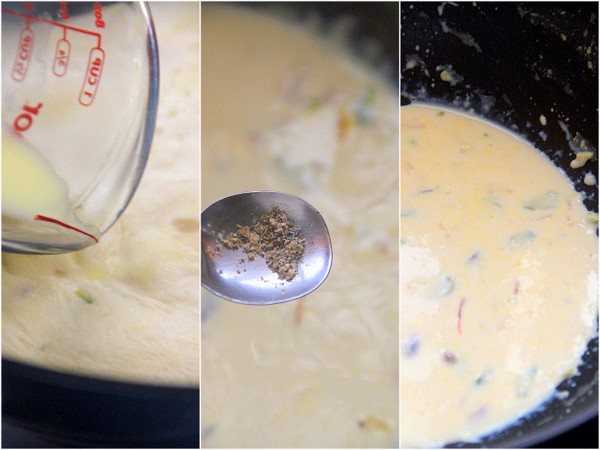
Boil milk in a large and wide saucepan. While it starts to boil, reduce flame and let the milk simmer gently not alowing to boil over. Add vinegar/lemon juice to it. The solid part of the milk coagulates and the green whey separates. Give a gentle stir and remove the pan from heat.I tried making the cream cheese at home as mentioned earlier. To make this, I used full fat milk (4.5% fat). I needed 1 litre of milk to make around 100 gms of cheese. Since I quartered the original recipe and baked 4 muffin sized cakes, this amount of cheese was more than enough after combining butter, sugar etc!
For 100 gms cheese
1 litre of full fat milk
1 tbsp white vinegar or 2 tbsp concentrated lemon juice
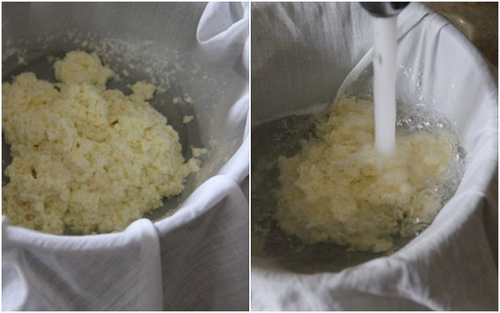
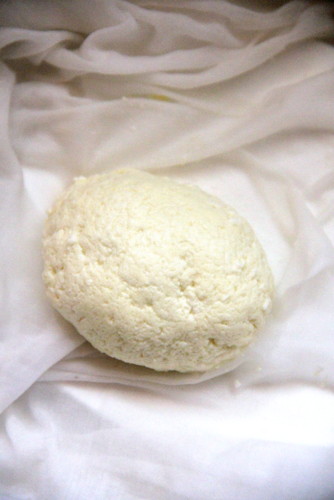
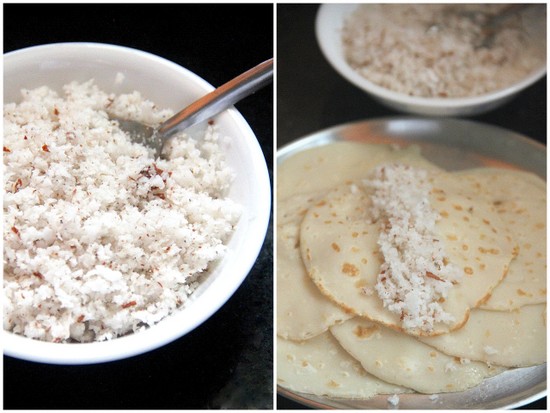
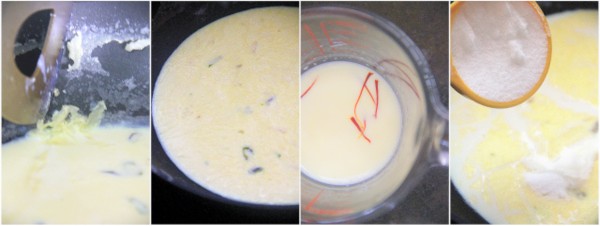
Pour it over a colander lined with cheese cloth. After the whey is filtered out, wash the cheese in running water to remove the acid. Tie the cloth and hang it to let drip the liquid part for 30 minutes. Open to see a ball of fresh cheese. I whipped butter, sugar and flavoured this cheese to make the Cream cheese frosting (scroll up)