Showing posts with label Egg. Show all posts

Saturday, August 3, 2013

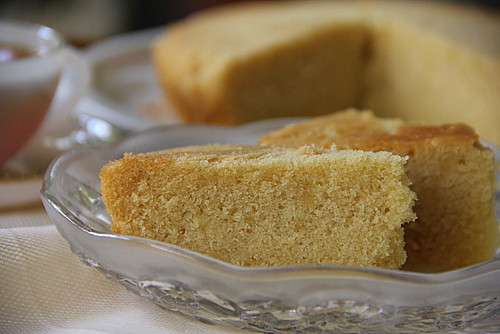
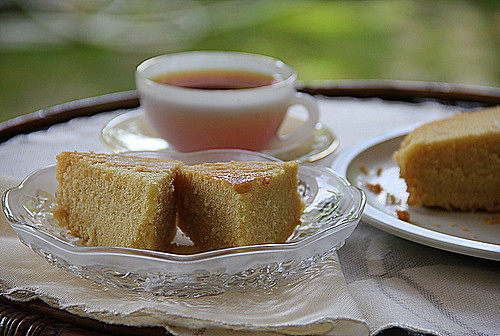
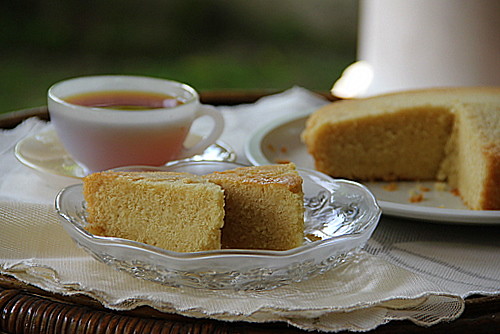
Tea Cake


IMG_2325


Hugs to you, Eashwari..
This is already my personal favourite post of the year!
I love to name it Tea Cake. That's how amma calls it. She still has the flair to make the perfect tea cakes, airy and light with no luxury of eggbeaters or new age ovens those days. She used the (vintage!) glass horlicks mixer inherited from her ma-in-law; my granma, for beating egg whites to stiff peaks and a round oven that didn't have a timer or even a temperature control for baking her cake ever since I can remember or since past a few decades.
Neverthelessly my tea cakes turn out denser every time I bake in spite of modern beaters, whisks and ovens. I still am unsure where I fail to make this basic pound cake while I boast about baking ventures!

Recently I had a surprise box of freshly baked, warm pieces of simple tea cake,  neatly squared out, which had the loveliest texture, flavour and taste which I could relate to the best 'yellow vanilla pound cakes' savoured at many parts world wide and most importantly the cake amma makes!

The source point was Eashwari,  who is my friend for almost the past two decades; whom I had not recognised as a great baker! She runs her own pre-school and had had her hands  always full. On another note I get inspired the way she maintains her cute little home. In an artful way with all the simple contemporary, traditional stuff hanging here and there or  placed neatly on shelves and corners which merges with every single other piece around.

I rang her up, while the cake sent over by her, melted in my mouth bursting all its goodness. She explained the recipe which seemed to be like a simple pound cake made with a 40 year old egg beater and a 30 year old oven! Ah, so there lies the secret! The vintage appliances again!!

We fixed up a time convenient for both of us and over to her neat and systematic  kitchen...

IMG_2310

IMG_2320

Read More »

Wednesday, September 19, 2012

Kothu Chapathi with Egg ~ stepwise pictorial


A blogger would know about the mid life bloggers' crisis.
One of my buddy talks about having a bunch of exotic recipes drafted, but reluctant to push out to blog just because she loses words for the introductory part.
Over the years we find ourselves improving in cooking skills, selection of recipes, photographic talents, earning readers...fame... but doesn't really apply when it comes to the 'writing intro part'.. it's monotonous.. stale..boring when it comes to me.

Read More »

Thursday, July 7, 2011

The Perfect Pound Cake


I simply loved the Perfect Pound Cake recipe,  the 'Sweet Punchers' had announced for the month.
The cake I started to bake as a teenager and that I make until now; probably the one I'd whipped up the most number of times...the simple vanilla or the tea cake I had learnt from my mom which calls for equal weights of the 4 major ingredients, flour, butter, eggs and sugar..

The measurements and method for the pound cake is slightly different, though...


and Hurray! WE baked the lovely, yummy, golden, cake, together to make it all the more special and sweeter! :)


Perfect Pound Cake
(Adapted from the The Cake Bible)

Ingredients


3 tablespoons Milk
3 large Eggs

1 ½ teaspoons vanilla
1 ½ cups sifted cake flour
¾ cup sugar
¾ teaspoon baking powder
¼ teaspoon salt
13 Tablespoons unsalted butter, softened [184 gms]


Directions
Preheat your oven to 350 F. Butter an 8 inch by 4 by 2.5 inch loaf pan, or any six cup loaf or fluted tube pan.
Lightly whisk together milk, eggs and vanilla in a medium bowl.
Place dry ingredients in a large bowl and mix on low speed for 30 seconds, until blended. Add the butter and half the egg mixture, and mix until dry ingredients are moistened. On medium speed, beat for one minute. This will aerate and develop the cake’s structure. Scrape down sides.

Add the remaining egg mixture in two batches, beating for 20 seconds between each addition. Scrape down sides.
Pour batter into prepared pan. Smooth surface with a spatula. Bake for 55-65 minutes (35-45 minutes if baking in a fluted tube pan), until a wooden toothpick inserted into the center comes out clean. Let cake cool on a rack in the pan for 10 minuets before inverting onto a greased wire rack. If using a loaf pan, flip the cake over so the top is up.
For making Cake flour at home - Take one cup of all purpose flour and remove 2 tbsp from it. Replace the 2 tbsp flour with cornflour and sift together 2-3 times.Cake flour is ready to use.


 I had badly wanted to bake the cake in loaf pans and cut into squares complaining about making in amma's round cake pan, but sis was more towards the quality of the cake rather than the shape :)


The power was going on and off during the beating part and the frothy dough had to wait for a long time to get into the hot oven while the power retrieved after 2 long hours!
Fortunately it didn't affect the texture of the cake!
 The soft, light and moist cake disappeared within 10 minutes after the photography session by the sisters, much before tea time :)

Read More »

Monday, May 23, 2011

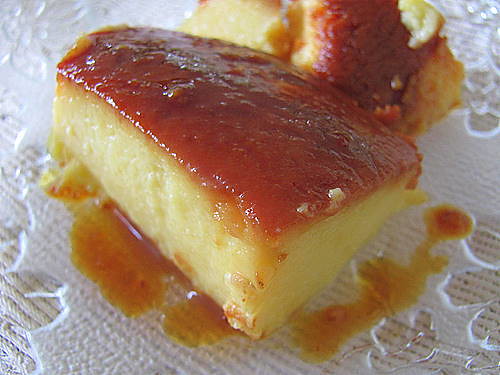
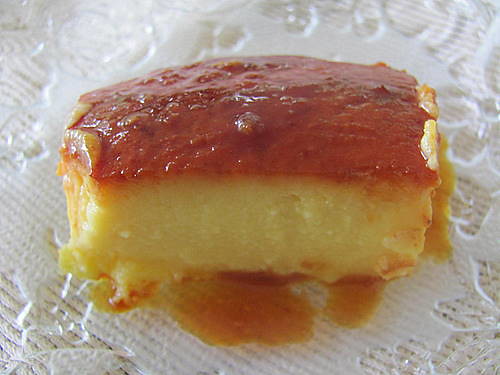
Caramel Custard (with custard powder)


I wanted to post this before I packed off for the holidays and then I was obsessed exploring the new camera and proceeded posting a recipe with the picture shot from that.
Well, now this one is contributed by my earlier cam and you can clearly see that, I believe ;)

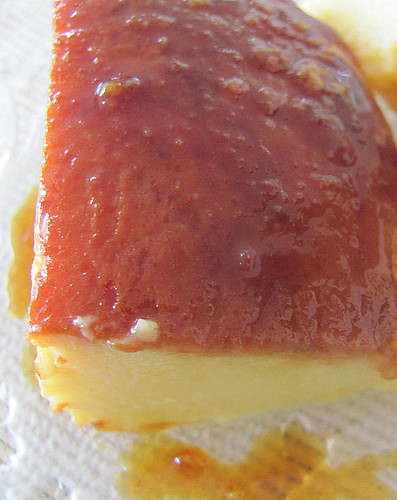
Caramel Custard had probably been my first trials with desserts as a 12 year old. Believe me, I never used to go wrong with this recipe and always came out with the firm golden coloured puddings with the moist deep brown coating, which never went bitter as well.
Amma always used to try the same recipe with a little difference and that was nothing but the addition of custard powder instead of Vanilla.
This always made the pudding firmer and more comforting and never had the 'eggy' flavour like in mine..


And here goes her recipe,

You need,

Milk- 500 ml
Eggs- 3
Custard powder (vanilla flavoured)- a tbsp
Sugar- 2/3 cup, scant


1. Caramel- Melt 3 tablespoons of sugar in a saucepan or a stove top pan (which you can also use as a mould af ter you pour in the custard mixture) until golden brown or a bit darker as you see in mine. Remove from heat and set it aside ( if you use the same utensil for setting the pudding later). Do not panic if the caramel hardens and if you happen to hear mild cracking sounds :). It is natural and after you pour the custard and set the pudding, it melts and coats the bottom in a uniform way.
If you use separate moulds, lightly grease them and  transfer about 1- 1 1/2 tsps of caramel, while it's still hot and swirl around gently so as to coat the bottom. Set aside.

2. Custard- Stir in custard powder in 3/4 cup of milk in room temperature without lumps. Keep aside.
Bring the remaining milk to boil adding the rest of sugar. Simmer for a few seconds (not much as the addition of custard powder, which follows, compensates) Stir in the custard powder milk mixture carefully keeping the fire low taking care not to form any lumps until well blended. Remove from fire. Stir in lightly whisked eggs , gently.

3. Cool the mixture and fill the moulds. Cover each of them with butter paper tied around the mouths. Steam in medium heat for 10-15 minutes. If using oven, place the moulds in a flat tray and then fill the tray with water. Cover the tray with aluminium foil and bake in 140 deg C for 20-25 minutes.

Remove, chill and serve.


With brilliant pictures of perfectly shaped caramel custards carefully 'unmoulded' all over the blogosphere, I know this is an imperfect one, just a casual slice which I could reserve for the day light shot which much effort ;) after the dinner, the previous night.
I poured the custard on the utensil which I used to caramelise sugar being a bit lazy to wash the extra vessels. ;)

Just wanted to share the recipe with you as it is easy to make and tastes really good!

Read More »

Tuesday, January 11, 2011

Meringue Mushrooms


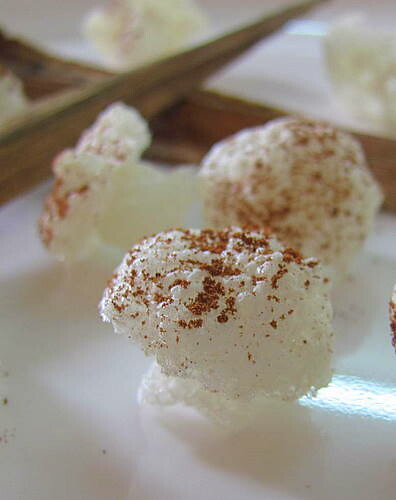
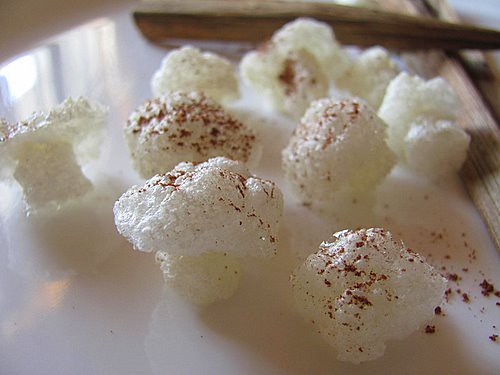
I was literally carried away by the cute looking creative Meringue Mushrooms but ultimately gave up participating January's Sweet Punch after my umpteen attempts of bringing them into perfect shape.

When piped out they were rather bubbly than frothy, yet stood well in shape and came out light, pristine white, but too brittle once baked. I still can't make out where I went a bit wrong :)

Is it because I avoided using cream of tartar suggested in the recipe or the oven which took double the time of slow baking as suggested ?


Deciding to avoid applying melted chocolate to base of the buttons, I carried on clicking, stopping my son who eagerly reached out to grab them :)

When I hurriedly settled down to check the pictures in my PC, how they had turned out, I had to shout at him to leave them undisturbed until I confirmedthe clarity of the pictures but as soon as I got back to click more, the mushrooms had disappeared! :)

The Final Verdict- 'The-not-so-perfect-looking-mushroom-meringues' tasted puurfect and made us happy :)
Read More »

Sunday, November 7, 2010

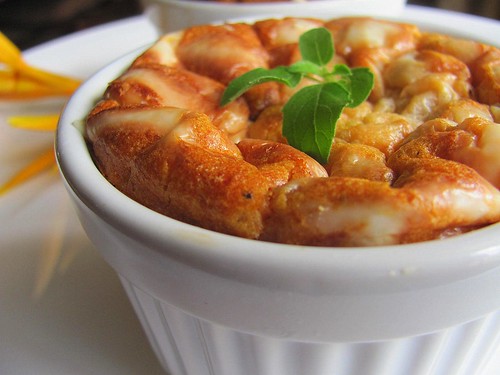
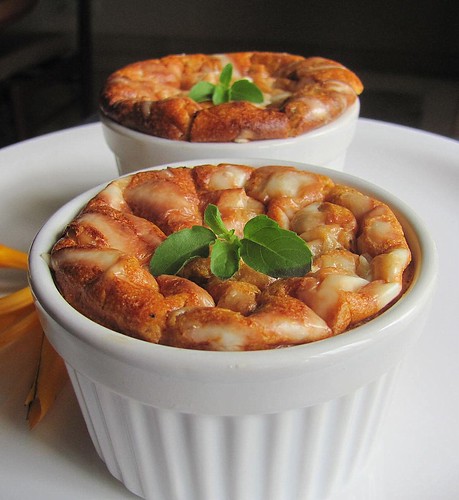
Tomato Souffle ~ November's Savoury Punch!


We were excited to have 3 choices of recipes for the Punch this month. Chocolate mousse; with egg and eggless versions and Tomato Souffle.
I chose to carry on with Tomato Souffle as inclined towards the savoury side and preferred to take a break with baking chocolates for a while.

Like Maria, me too had associated souffles with sweet desserts rather than the whipped up egg whites, on the contrary, being incorporated with tomatoes and white sauce blending into a perfect concoction with a touch of difference!

I enjoyed every stage of it, tasting now and then and surprisingly found it tasted great all while the process of making ;).. try it, bet you can't help doing the same, often ;)


And here's the recipe source- adapted from Australian Women's Weekly via Marias menu

Yielded me 4 ramekins upto the brim

1. Bread Crumbs- 1/2 cup firmly packed

2. Butter- 45 gms (refer healthier version)
Onion- 1 medium, finely chopped
Plain flour(maida)-2 tbsp
Milk- 1 cup

3. Tomato paste- 3 tbsp
Basil- 1 tbsp, finely chopped (this does give a unique extra Zing to the souffle and see to it you do NOT omit! :))

4. Eggs- 3, separated

5. Grated cheese- a handful ( I used cheddar)

Grease 4 souffle dishes (1/2 cup capacity), sprinkle with bread crumbs. Melt butter in small saucepan, add finely chopped onion. Stir over low heat for 2 mins (or MW on HIGH for about 2 mins). Cook until onion is soft, it doesn't have to becosme brown. Stir in flour and stir over medium heat for a minute (or MW on HIGH for a min). Remove from heat. gradually stir in milk, return to heat, stir over high heat until mixture boils and thickens and reaches a thick sauce like consistency (or MW on HIGH for about 3 mins).

Transfer to large bowl, stir in tomato paste and basil Leaves. Cover the dish and let it stand for 5 mins. Beat egg whites in a small bowl until soft peaks form. Add egg yolks to the onion and milk mixture and mix well. Fold the egg whites into the mixture in 2 batches. Pour the mixture evenly into the prepared dishes. Sprinkle the grated cheese on top. Bake in the preheated oven for 20-25 mins or until lightly browned.


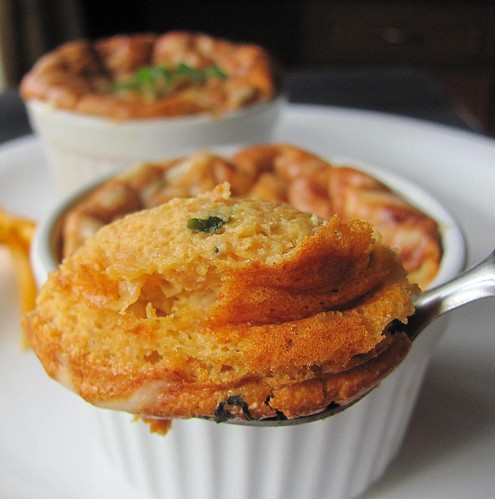
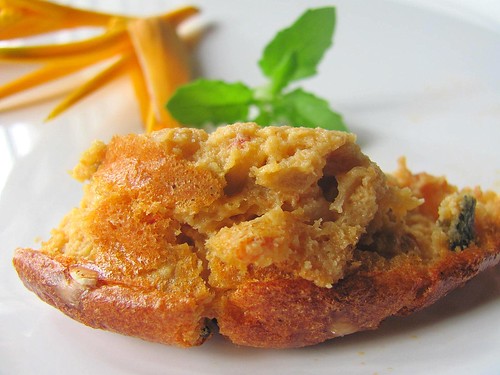
I was getting excited to see souffle puffing up so well in the oven but a little disappointed, watching it settling down the next second, when the oven was put off. It looked golden brown while puffed up and had a deeper brown colour when the dome was lost.
Doubt I cooked them a little more than in Maria's :)


Healthier version: use brown bread crumbs and low fat milk. Also use yolks of only 2 eggs and white of 3 eggs. Use only lesser qty of butter.

Notes: The above qty serves 2 adults served with garlic bread or soup. You can use any oven safe dish to prepare this. The original recipe calls for no spices, but you can add crushed pepper while cooking onion, if you wish.

Substitute for tomato paste: http://chowhound.chow.com/topics/312148


Read More »
Related Posts Plugin for WordPress, Blogger...