Home
Home
 Recipe Index
  Kerala Recipes
 Tamil Recipes
 Our Cooking Station
 About
About 


I was introduced to making a variety of sweets during my early years of marriage, as a young daughter in law. In a joint family there was always the need of home made sweets and snacks. During festival time, ma-in-law and ammayi ( her mom) would plan out meticulously what all to prepare and how. We mostly had an 'Iyer' or a Brahmin who is supposedly and expert to make the diwali goodies, who turned up a week before the D-day and starts off with much pomp. He would come prepared with his 'edupidi' or assistants who would give him a helping hand throughout. The firewood was set at our back yard, with a high roofed 'shamiana' to ward off unexpected showers of the month, and the Iyer would start off with his simple prayers. The whole process of making sweets and snacks, in mounts, would go for at least 5 days but those were the times I really loved! I used to simply watch in awe the way the 'edupidis' roll out ladoos from hot boondhi, the way Iyer squeezes out jalebis and does the final mix up of the 'mixture' as heaps! Ma- in- law took the complete responsibility of shopping the ingredients, dividing the whole bunch of goodies and shared with our relatives, friends and workers at home. My part was mostly to help her packing the stuff and making some extra sambhar, rasam and koottu for the Iyer and his assistants while I prepared the lunch for the family.
Those were the days ignorant of blogging and I missed to capture those scenes live to share with you! They remain as memories. These days it is getting harder to find a good cook that we simply order the sweets and snacks out to commercial joints.
Ever since blogging years, I make it a point to make at least a sweet for the festival at home, which I can share in my blog. 'Bhajji' and 'Rava Kesari' are always unavoidable on the Diwali day, anyway!
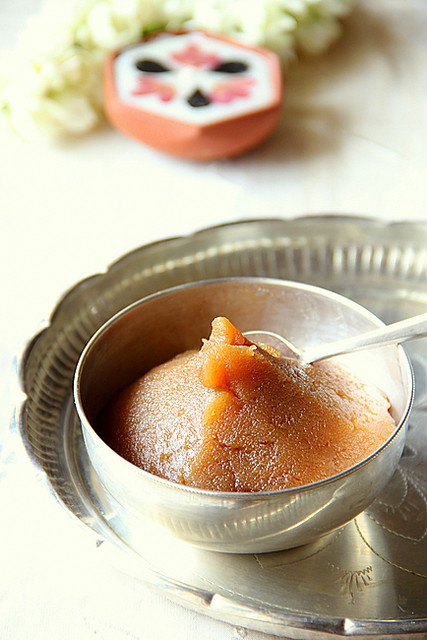
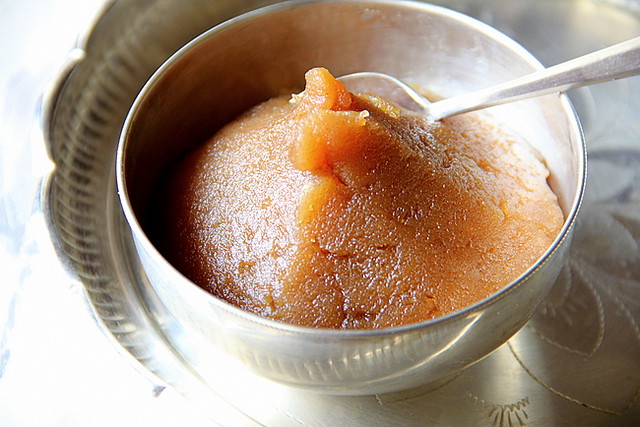
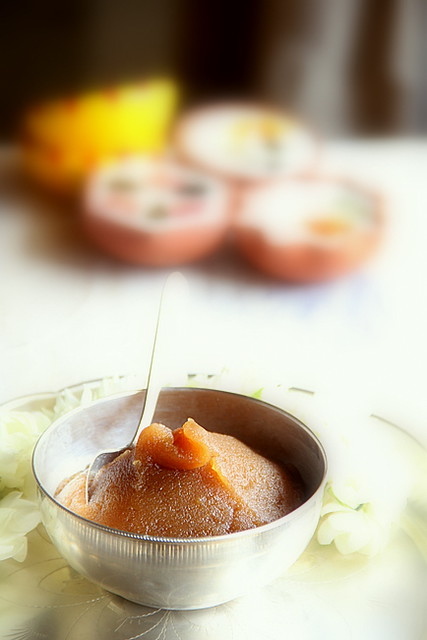
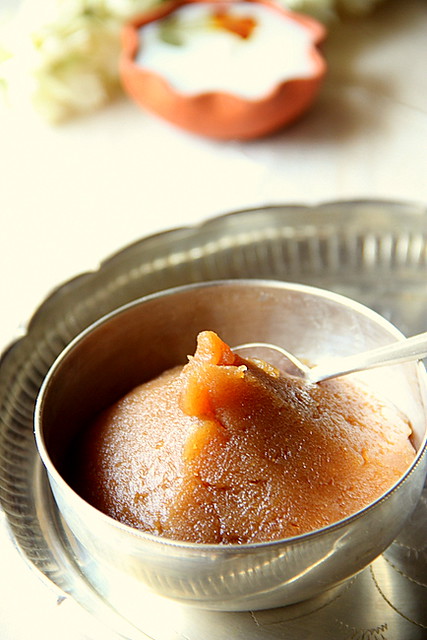
This year, I resorted to Ghee Mysore Pak for blogging. To start learning how to make the same, I depended completely upon my neighbour, Rama Aunty and her daughter Hari. Aunty is more than a neighbour with her much timely help and motherly affection. Hari is my favourite! :)
Hari made sure she mastered the art of making the sweet and went for at least half a dozen trial and errors. She sent me a sample of her every trial and I could visibly see the difference in the quality of sweet improving each time. Finally, the lovely mom and talented daughter summoned me home with all the ingredients of the all time delicacy. Since they handled the whole of stove top, all I did conveniently was the photo shoot! I realised how difficult it would be if I had tried the same and handled the photography single handed!

Mysore Pak
Yields 20 rectangles +/-
Total Time needed- 20-25 minutes
1 cup Besan / Kadalai Mavu-
2 cups melted ghee + 2-3 tbsp for adding in the last stage
1-2 tsps of ghee to grease the pan
2.5 cups sugar
3/4 cup water (this is related to quantity of sugar and not besan)

Measure besan

Dry roast lightly for a minute in medium heat, stirring continuously. Transfer to a dry tray. Besan should have slightly more than bearable heat if you do a 'touch test'.

Transfer besan to a metal sifter or to a metal sieve. (do not transfer to a nylon based sieve as it melts down due to the high heat of the besan!)

Transfer sugar to the same pan, pour water and let it boil together.

Stir now and then to dissolve sugar completely and minimise the flame to low.

While the sugar and water mix comes to a boil, grease the pan with melted ghee. This is the pan onto which you need to transfer the piping hot mysore pak right from the stove

The stage to attain is 'one string consistency' or 'pisukku padam'. This is the most important part which decides the consistency of the final outcome. So, be very careful to get it right.
The sugar water solution, after a few minutes (say, 4-7 minutes, that is: medium heat until the crystals dissolve and later in low flame;) froths up, and comes to a rolling boil as in the middle picture. Keep the flame to minimum at this point and you can see the solution turning thicker. The three pictures were shot within a minute so the stage attains in seconds after the solution starts frothing!
The solution should be sticky if you feel a few drops between the tips of your index finger and thumb. The stage has reached in the third picture above. Since the liquid is really hot, take care not to burn your fingers.

Immediately not letting to go to the next stage of syrup, add one cup of ghee.

and mix well along.

Sift in flour using sifter with one hand and a whisk to stir avoiding lumps, with the other hand.

The sifting in and vigorous mixing should take place simultaneously! It's better to have a helping hand if you are a first timer for this part!

Whisk briskly at this stage.

You can use a flat headed ladle while it thickens.

add the remaining one cup ghee 1/4 cup at a time between 3-5 minutes of continuous stirring.

You will finish the ghee as 3-4 batches while stirring.

Keep the flame low while the mixture starts thickening and bubbles up.

Continuous stir is the most important and a bit laborious task at this point.

This stage attains within 2-3 minutes of the previous stage. Watch the edge of the pan while stirring. The mix leaves the edges or when you see 'honey comb like holes', appearing along the edges while stirring, the final stage has reached!
You may drizzle 2-3 tbsps of ghee at this point to make an extra rich Mysore Pak. But if you need to concentrate too much on the final stage, it's fine, skip it! :)

Transfer the hot lava :) to the greased tray.

Its quite natural for the sweet to froth up soon after the transfer because of the high heat.

If it does, tap the pan gently on the counter and it settles down!

Cool for 10 minutes to get rid of the piping heat and slice mark nicely to the deep bottom. It is important to slice mark while the sweet is hot or very warm. The warm/cooled down sweet tends to break into powder and makes it tough to shape. Also, take care to slice mark deep enough to touch the base of the metal since the pieces may stick up again, due to the high heat around the base. You may not be able to slice perfectly as in shops. No worries, machines do for them :). Our imperfect rectangles are perfect heart warmers, instead :)

Notes:
1. Mysore Pak made in non-stick pans lack the natural grainy texture. Hence we used Indolium pan. The sweet needs some crude heat with metal can offer and non-stick bases cannot!
2. 10 minutes was needed for attaining 'pisukku padam' ( the sugar syrup consistency) in low-medium flame when we tried double the quantity, of the above recipe.Therefore, for the above measurement I have written down, the time needed for the one string stage or the 'pisukku padam' will be around 4-6 minutes.
3. The sifting in and whisking process demanded 20 minutes when we made.
4. Hence the total time taken on stove was 33 minutes in exact for the doubled recipe. It may not get cut down to half the time if the recipe is halved ( the above quantity I'd mentioned), but will take around 20-25 minutes from start to finish.
If you feel the recipe explained so far, will give a very sweet mysore pak:
I tried with the measurement of 1:1:1 (besan : sugar : ghee) and it faired quite well. Just follow the same steps above while on stove stop. While making the surar syrup, add water enough to immerse the sugar. Reserve 1/4 part of the ghee to add to the pan just before you remove the sweet from the stove. This moistens and gives the sweet a better melt-in-the mouth texture.
This measurement will give you the rich ghee flavoured mysore pak which I personally prefer.
Ramaunty and Hari, this post would not have been possible with you two. I have no words to thank you both!