Showing posts with label Onions. Show all posts

Tuesday, January 31, 2017

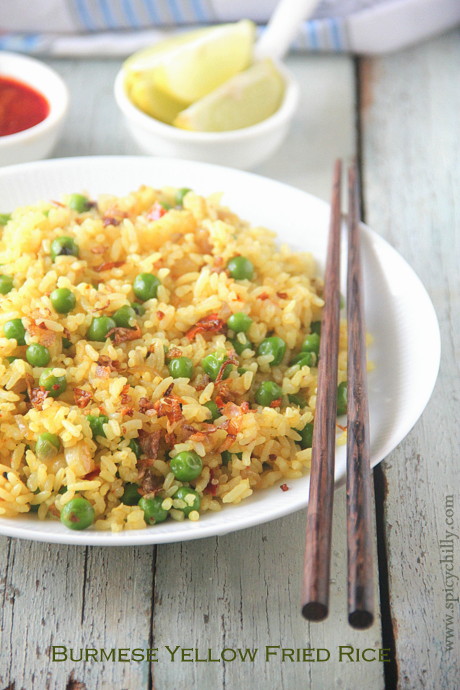
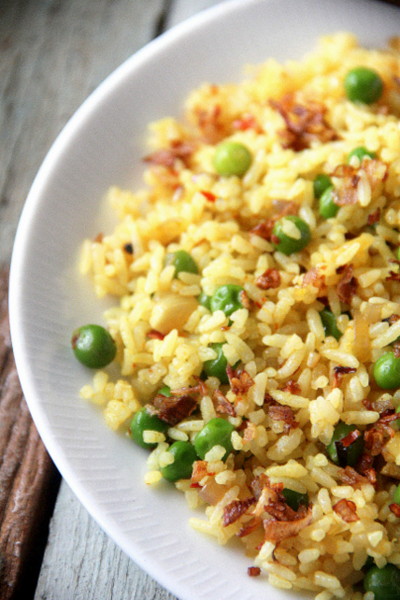
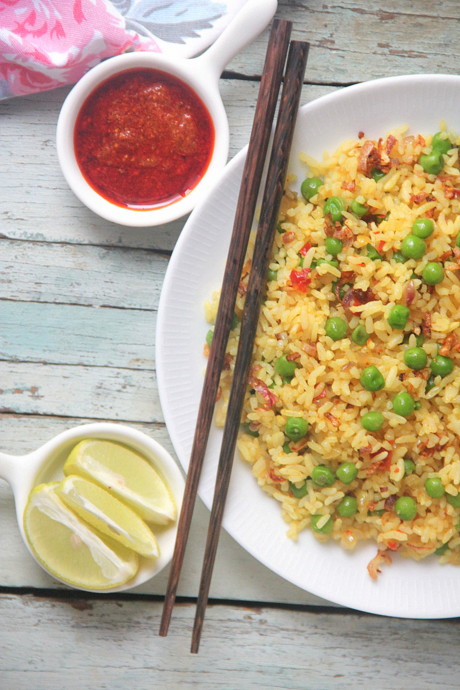
Burmese Yellow Fried Rice with Shallots and Peas!


Y

ellow Rice is a "Burmese thing." A heartwarming combination of turmeric, cayenne and fish sauce mingled with the irresistible flavour of caramelised onions makes this dish unique!
As you might know, the most common staple food in Myanmar is white rice, which is eaten by finger tips as morsels dipped in curries by the Burmese. The ingredients are fresh and resemble the Chinese mode of cooking. Inspired by the Indian cuisine, parallelly, they use lesser amount of spices and more of garlic and ginger. In this particular rice dish, I have used fresh peas along with fried onions and other basic Burmese ingredients. Fish sauce is avoided in the below recipe, as my family members are vegetarians. I strongly suggest to use this important ingredient, though!


Burmese Yellow Fried Rice with Shallots and Peas
Adapted from Burma: Rivers of Flavor by Naomi Duguid

Serves 2
Prep time 10 minutes
Cook time:10 minutes
Total time: 20 minutes

Ingredients:

* 1.5 tablespoons shallot oil
(For this we need 2 tbsps peanut orany neutral oil and 3 tbsps sliced shallots)


 1/4 cup thinly sliced shallots
 1/4 teaspoon turmeric powder
 1/2 tsp roughly ground cayenne
 2.5 cups day-old cooked Jasmine rice
 1 teaspoon fish sauce (I omitted this)
 1/2 cup frozen green peas
 1-2 tablespoons golden crispy shallots (reserved in the first step)
 Salt- to taste
 Lime wedges for serving

Method:
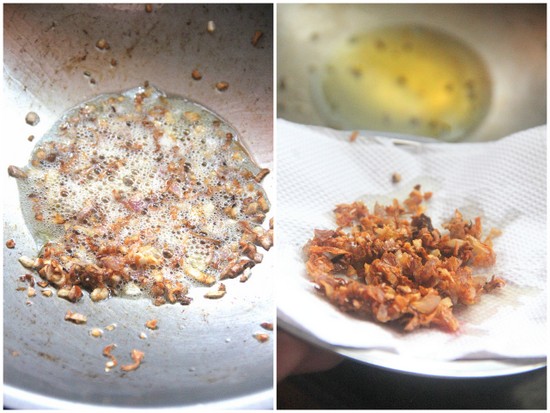


To begin with, we need 1.5 tbsps of shallot oil. *For this, get ready with 2 tbsps peanut or any neutral oil and 3 tbsps sliced shallots
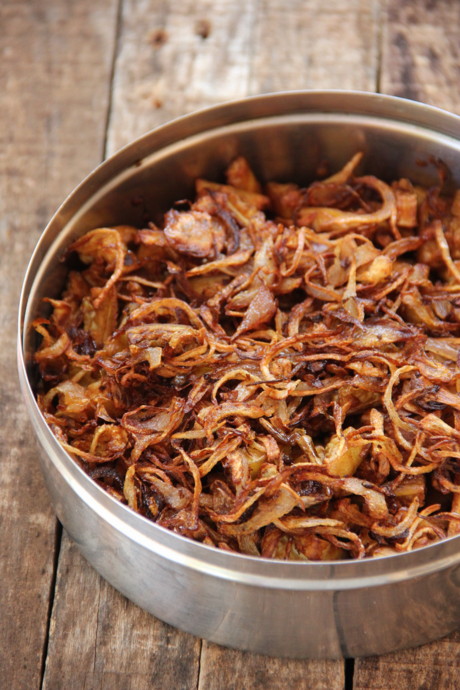
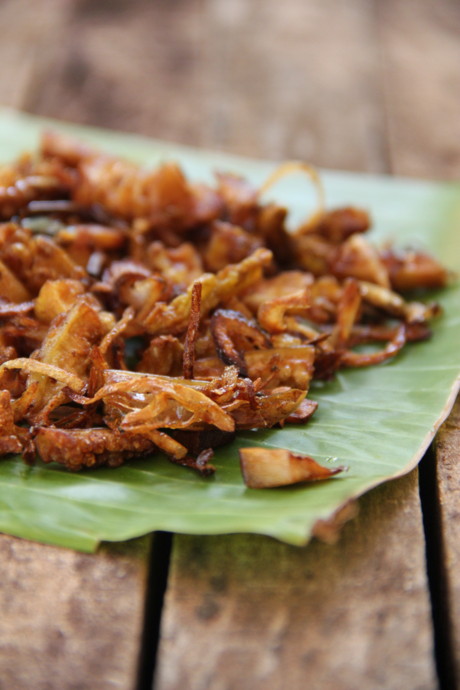
Heat oil in a skillet and throw in the shallot bits. Fry them stirring all the time, until crisp and golden. Drain in paper towel. Reserve for the last step/garnish.
Thus, you will end up with 1.5 tbsps of shallot oil and 2 tbsps of crispy fried shallots.
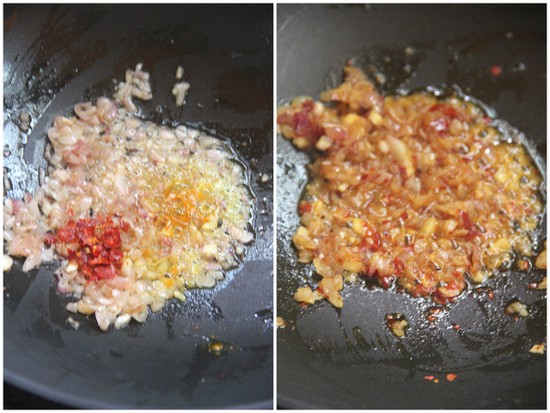


Heat the shallot oil in a large, wide skillet over medium-high heat.Add the shallots and cook, stirring occasionally, until the shallots have softened.  Add the turmeric and cayenne and give them a quick stir.
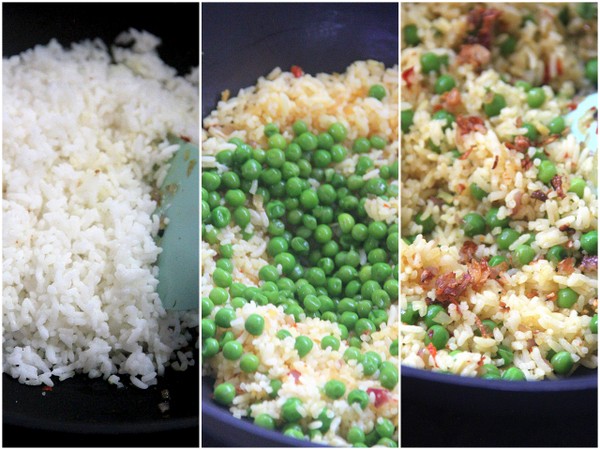


Crumble in the rice and give the mixture a stir, using the spoon to break apart any clumps of rice. Since I couldn't get hold of Jasmine rice, I used my regular parboiled rice. Add the fish sauce at this point if you wish to add and green peas. Cook, stirring occasionally, until the peas have cooked through and the rice is heated through. And again, since I used fresh peas instead of frozen ones, I cooked them in just enough water, separately and added along the rice. Add the golden crispy shallots and give the mixture one last stir. Taste and add salt, if necessary.

Transfer the mixture to a serving bowl or platter and serve with lime wedges and hot chilly dip if desired..
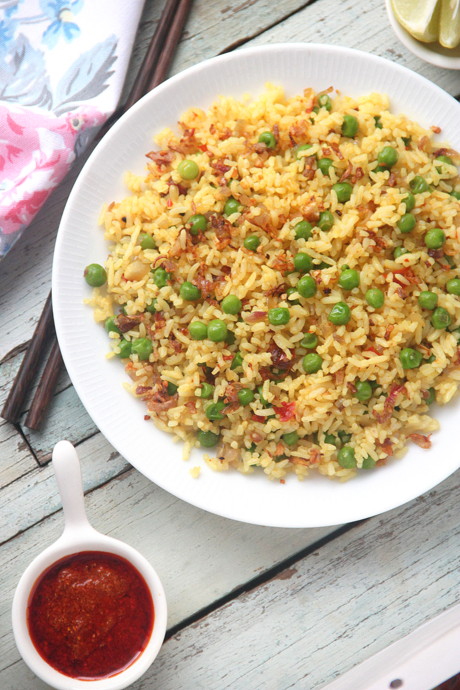


Note: Fish sauce will have salt in it, so be careful when you add salt. If you do not wish to add fish sauce for a vegetarian version, add the needed salt.

Read More »

Tuesday, December 10, 2013

Easy Kerala Pavakka Roast / Deep Fried Bitter Gourd with Onions


Pavakka Roast


Many of amma's recent side dishes are seasonal. She makes yummy dishes during one of our visits and while on your next, she has a handful of new ones! The funniest part is that she forgets how she made a particular dish, we would have thoroughly enjoyed during our previous holiday with her. That's her :). Very quick and smart in learning a recipe and very forgetful :)

I pictured this pavakka roast she made during our last visit. Our maid Suma helped her with this one and while I am blogging I am dismissing the thought of reconfirming the recipe with her simply because she would have already forgotten about this :)
Typing simple the recipe with the aid of a crude note I made then along with the abundant step wise pictures I clicked along that day.. :)

I have noted that in Kerala, the bitter gourd is sliced long while in Tamil Nadu the vegetable in sliced round and thin for making the dry roasted version.


Pavakka Roast


 Kerala Pavakka Roast
Serves 2-3
Time needed 40 minutes

You Need:

Bitter gourd/ Pavakka - Sliced long as one inch pieces. Need not be very thin. - 2 cups
Coconut bits/thenga kothu - 1tbsp
Big onions - sliced thin- 1 cup, heaped
Green chilles- 3-4 slit lengthwise
Coconut oil- 1/2- 3/4 cup- to fry
salt - to taste

Method:

Pavakka Roast


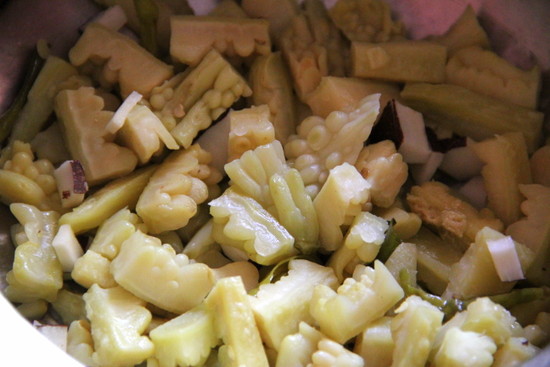
Boil bitter gourd in just enough water adding green chillies and salt and cook till half done. Drain excess water and add in the coconut bits.


Pavakka Roast

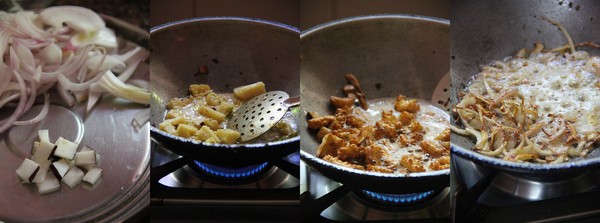
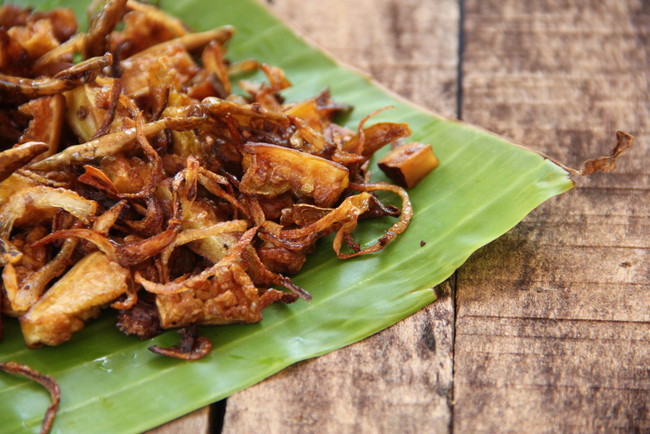
Keep ready the sliced onions. Heat oil in a wok and begin with 1/2 cup of boiled 'pavakka'. Keep the flame to minimum and continue frying till the pcs turn brown and crisp. Drain using a slotted spoon and arrange on a flat vessel. Repeat as batches until you are done with frying. In the remaining oil saute the onions till brown and crisp ( pour a little more oil if necessary) Drain the fried onions and top the fried 'pavakka'.


Pavakka Roast

Serve hot with steamed rice and sambhar 

Read More »

Friday, May 24, 2013

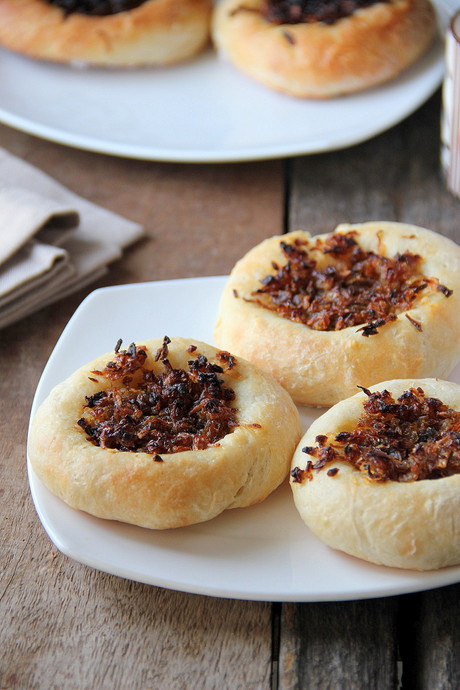
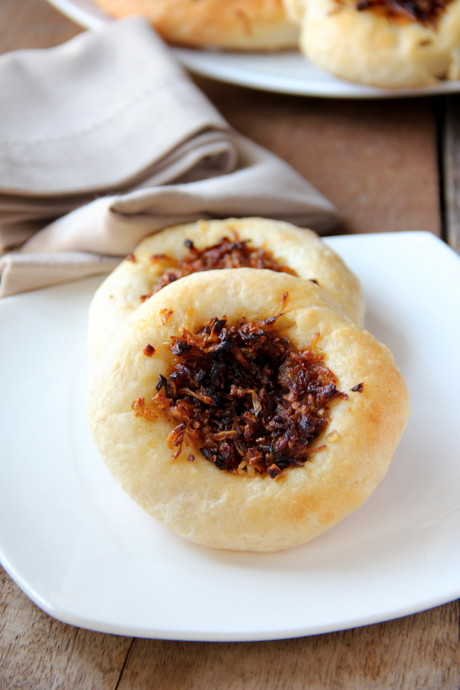
Bialys ~ Soft and chewy rolls topped with caramelised onions


Bialys


The name Bialy (pronounced bee-AH-lee) comes from 'Bialystocker Kuchen' which translates as “bread from Bialystok” which is in Poland. Apparently, Bialys are rarely seen or made in Bialystok these days.In the days when there used to be Bialys in Bialystock, it seems the rich Jews ate Bialys with their meals, while the Bialys were the whole meal for the poorer Jews.
In the early 1900s, many Eastern Eurpoeans, including the Polish, immigrated to the US and settled down in New York. Naturally, they also brought their Bialy making skills with them and that is how the New York Bialy became famous.

The Bialy maybe thought of as a cousin to a Bagel but is quite different from it. For one thing, a Bialy is baked whereas a Bagel is boiled and then baked. A Bialy is round with a depressed middle, not a hole, and typically filled with cooked onions and sometimes poppy seeds.So it is not shiny on the outside with largish puffy bubbles on the inside.A good Bialy should have a springy soft crumb and a chewy and floury crust. Bialys are best when eaten as they are and also within 5 to 6 hours of making them.

What lends Bialys their signature chewiness is the use of flour that is high in gluten. So to make Bialys, use bread flour if you can find it. Otherwise use all-purpose flour and add 1 tbsp vital wheat gluten (for the 3 cups). If like me, you can find neither bread flour nor vital wheat gluten, go ahead and make it with plain flour. You’ll still have very nice Bialys that are slightly softer, that’s all.

One way to make them slightly chewier is to refrigerate the dough overnight after the first rise. The next day, take the dough out and keep it at room temperature for about half an hour. Then shape the rolls and proceed with the recipe. These Bialys are on the softer side so do not over bake them or they will dry out and become tough.
Bialys usually have a thin layer of caramelised onions and poppy seeds. I decided to use only onions, and then lots of it. Being Indian and having been brought up on spices in my food, I also added some garam masala to spice up my filling. You can use whatever filling you would like. Anyways the filling needs to be savoury.
[Introductory content adapted verbatim from Aparna's recipe document]

And let me tell you now that there can't be a better choice than Bialys for We Knead to Bake for the month.


Bialys

Read More »

Wednesday, September 19, 2012

Kothu Chapathi with Egg ~ stepwise pictorial


A blogger would know about the mid life bloggers' crisis.
One of my buddy talks about having a bunch of exotic recipes drafted, but reluctant to push out to blog just because she loses words for the introductory part.
Over the years we find ourselves improving in cooking skills, selection of recipes, photographic talents, earning readers...fame... but doesn't really apply when it comes to the 'writing intro part'.. it's monotonous.. stale..boring when it comes to me.

Read More »

Monday, May 7, 2012

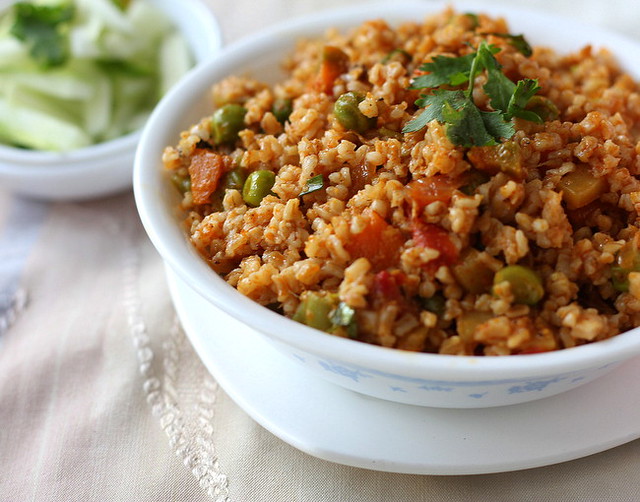
Vegetable Broken Wheat Biriyani


These days I find myself substituting rice with whole wheat, surrendering to the pre occupied notion that wheat is healthier than starchy polished rice! Be them, idlies or upma I find comfortable enough with the variety of easily available broken whole wheat grains in the market.
The vegetable broken wheat biriyani made here is a one pot meal after my hit recipe easy tomato biriyani :)
The recipe and method for this one is entirely different and a bit elaborate but you can always preserve the masala coated veggies which stays well in your chiller even for a week, until you can mix up and heat it with rice of broken wheat to make the meal!
Flavourful and loaded with vegetables, healthy too...

Read More »

Wednesday, January 30, 2008

Vengaya Thokku / Ground and Spiced Onion Preserve


Thokku is a version of semi-thickened preserve where the vegetable invoved is ground to a coarse or fine paste, sautéd in oil, spiced up and seasoned accordingly.Vegetables with relatively more water content is considered ideal for making thokku.The vegetable when ground brings out the water, the sautéing part reduces the water content and the oil for seasoning enhances the shelf life of the preserve.

Get ready with:

Shallots/Chinna vengayam/Small red onions-1/4 kg or 2 levelled 250ml cups
Tamarind-a medium lime sized ball
Red chilly powder-1/3 cup
Fenugreek or methi seeds/venthayam-1 tsp
Jaggery-1 tsp(optional)
Turmeric powder-1/2 tsp
Mustard seeds-1/2 tsp
Hing/Perungayam-1/4 tsp
Sesame seed oil/nallennai-1/2 +1/4 cup
Salt-A tbsp-more or less

To carry on:

1. Soak tamarind in just enough warm water for half an hour.Extract pulp as thick as possible.Keep this aside.

2. Heat a non-stick wok and dry fry the fenugreek/methi seeds till brown and aroma spreads, without adding oil.Powder and keep aside.

3. Peel the small onions.Grind to a coarse paste without adding water.

4. Heat ½ cup oil in the above non stick wok.Splutter the mustard seeds.Add hing and the onion paste, sauté till the water content is absorbed, the colour changes to darker brown and the oil separates.Add the chilly powder and mix well.Pour in the tamarind pulp, mix in jaggery, turmeric powder and salt.

5. Sauté again till the water content evaporates slowly, the gravy thickens and the oil separates again.Never close the wok or the pan during the preparation so as to facilitate the evaporation of the water content of the thokku as far as possible.

6. Sprinkle the methi powder and mix well.Remove from fire when the semi thick consistency is reached and add the extra ¼ cup if you need more oil to float.

7. Cool and transfer thokku in clean and dry bottles.The oil, should float at least a centimeter length, as the upper layer. Store in a cool and dry place. Refrigerate for a longer shelf life.

This goes to Radhika of Radhis Kitchen who hosts JFI-Onions for the month.


Small onions are highly suggested to make this preserve. Big onions may also be substituted, so as to avoid the hazzles of peeling and poor availability, but the taste does alter, and may have comparitively a lesser shelf life.
This is an excellent dip for Dosas and Idlies.A good accompaniment for plain rice too.
Read More »
Related Posts Plugin for WordPress, Blogger...