Thanks to my friends who always chanced upon this space for a new recipe, a news or some form of update for the past few months. After the 10th year of active blogging, it was a sense of contentment that I decided to take a break and blog occasionally, though the hibernation got extended. 😊.
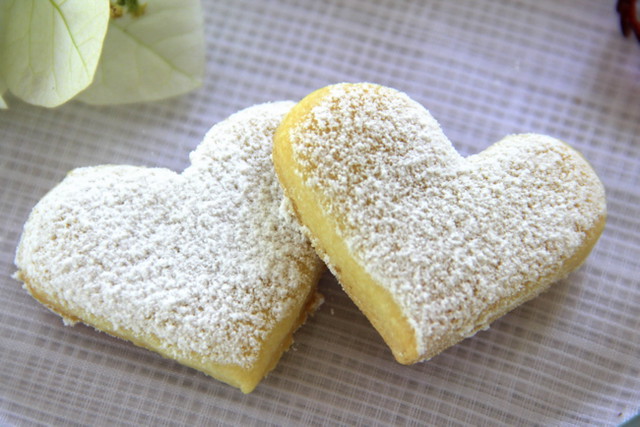
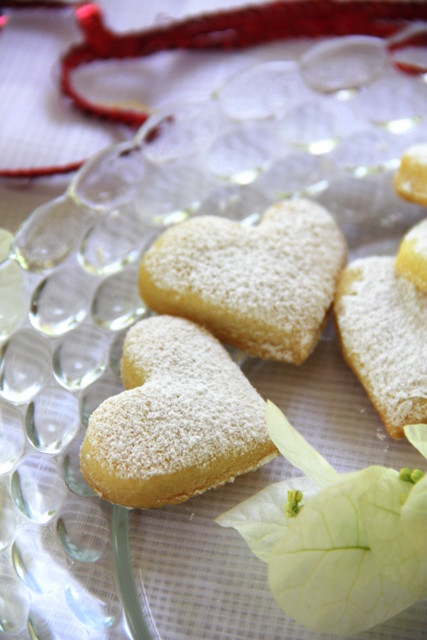
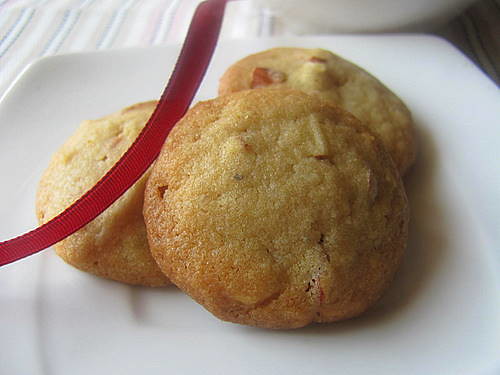
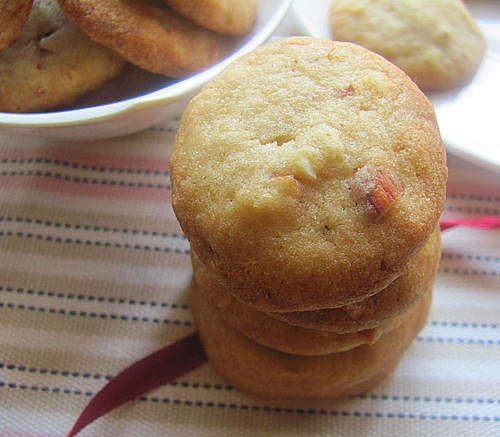
So, now with the Christmas time, I decided to bake something that I could share with my friends. Hence it had to be simple and good to eat which stores well too. The weekend was allotted for the purpose. I took out my cookie cutters and holding the stars and the trees wondered what I really should do with them. Shortbread? HmmYes!! Next, browsed a bit and chanced on a swanky recipe, that started working on me!
M&M's aren't easily available, in this town but I decided to go for a hunt. We had alternatives of these candies, but I was a little adamant to get them. The search rested when I found a few sachets which were super expensive, at least 4 times that the original price I used to get them in US!! Anyhow, it's the victory of the hunt that matters!😉
The basic dough for Shortbread is universal. The 3 main ingredients; sugar, butter and flour are in the ratio of 1 : 2 : 4 , meaning for one part of powdered or confectioners sugar, you need to knead along 2 parts of butter and 4 parts of flour. Simple! Scale down according to your needs and there you go!

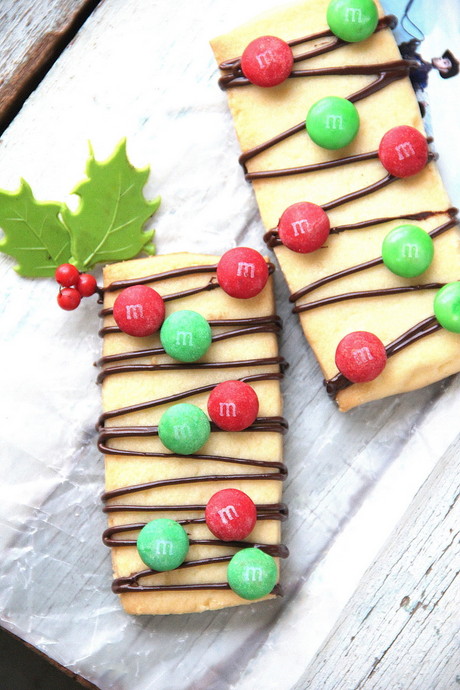
M&M Shortbread Cookies
Yields 6 bars of 10cms × 4cms
Prep time - 15 minutes
Baking time - 20-25 minutes
For topping- 20 minutes
Total time- 1 hour
You need:
1/4 cup powdered sugar
1/2 cup unsalted butter, softened
1 cup flour
A pinch of table salt
optional: 1/2- 1 tsp water
40 M&M minis, preferably reds and greens for topping
A few squares of Baking chocolate,chopped, for drizzle (I used Van Houten)
Preheat oven to 350ºF.
Beat together the butter and powdered sugar (a stand mixer is great for this, as the powdered sugar will make quite a mess if you're using a hand mixer).
Slowly add the flour (about a half cup at a time), mixing a bit in between each addition.
The mixture will look crumbly at first, but the dough will come together after a few minutes. If needed, add water (starting for 1/2 tsp) to help dough form. I really didn't need water. However,beware of adding to much. This dough should not be sticky. It should be soft and made into a flat thick coin with no cracks between your thumb and forefinger.
Turn dough onto a lightly floured silicone baking mat or parchment paper and roll out to a 1/4" thick rectangle. Using the parchment or baking mat, life the dough onto a baking sheet (leave the parchment or silicone mat as the lining). Cut dough into 6 rectangles.
Bake for 20-25 minutes until edges begin to turn a light golden brown.
Let cool completely. on a wire rack.
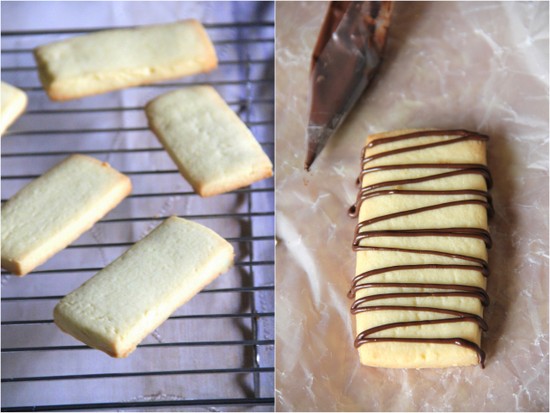
Melt the chocolate in a double boiler or in a MW as you prefer and drizzle on the cookies.
Top with M&M's.
Note:
- The ratio of sugar:butter:flour in the above recipe is 1/4:1/2:1
- The original recipe calls for 1/4 cup of M&M's to be kneaded along the dough. I preferred to top them instead.
- The amount of flour varies a bit depending about the quality, I needed a few tsps extra flour to bring about the right dough consistency.
- Also, I wasn't too confident to do a neat drizzle and hence piped the melted chocolate.

😊 Happy Baking, Happy Holidays, Stay Blessed 😊