Tuesday, October 29, 2013

Ghee Mysore pak


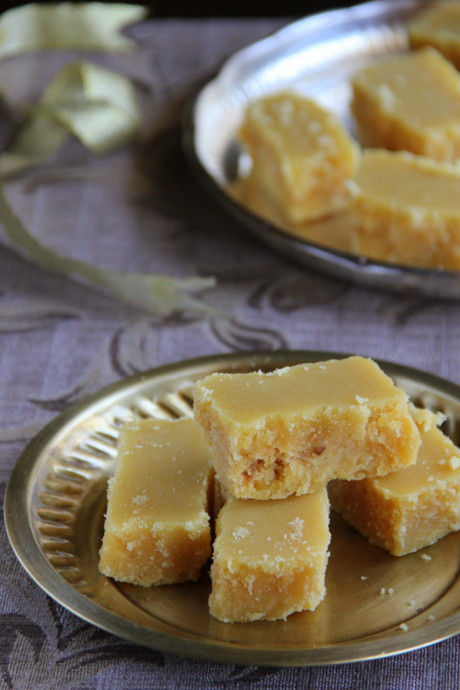
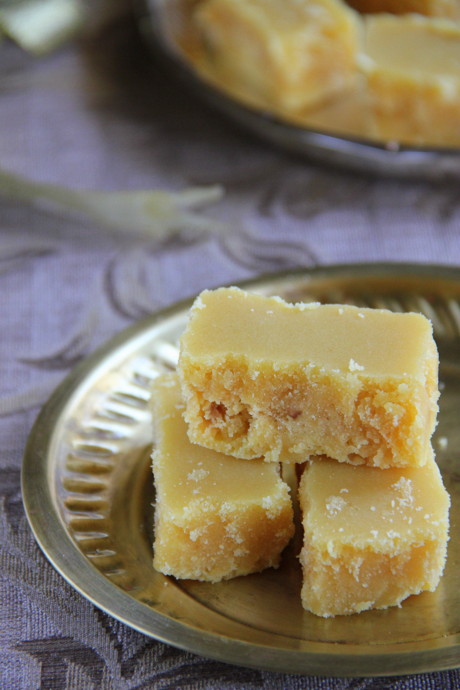
Ghee Mysore Pak


I was introduced to making a variety of sweets during my early years of marriage, as a young daughter in law. In a joint family there was always the need of home made sweets and snacks. During festival time, ma-in-law and ammayi ( her mom) would plan out meticulously what all to prepare and how. We mostly had an 'Iyer' or a Brahmin who is supposedly and expert to make the diwali goodies, who turned up a week before the D-day and starts off with much pomp. He would come prepared with his 'edupidi' or assistants who would give him a helping hand throughout. The firewood was set at our back yard, with a high roofed 'shamiana' to ward off unexpected showers of the month, and the Iyer would start off with his simple prayers. The whole process of making sweets and snacks, in mounts, would go for at least 5 days but those were the times I really loved! I used to simply watch in awe the way the 'edupidis' roll out ladoos from hot boondhi, the way Iyer squeezes out jalebis and does the final mix up of the 'mixture' as heaps! Ma- in- law took the complete responsibility of shopping the ingredients, dividing the whole bunch of goodies and shared with our relatives, friends and workers at home. My part was mostly to help her packing the stuff and making some extra sambhar, rasam and koottu for the Iyer and his assistants while I prepared the lunch for the family.
Those were the days ignorant of blogging and I missed to capture those scenes live to share with you! They remain as memories. These days it is getting harder to find a good cook that we simply order the sweets and snacks out to commercial joints.
Ever since blogging years, I make it a point to make at least a sweet for the festival at home, which I can share in my blog. 'Bhajji' and 'Rava Kesari' are always unavoidable on the Diwali day, anyway!

This year, I resorted to Ghee Mysore Pak for blogging. To start learning how to make the same, I depended completely upon my neighbour, Rama Aunty and her daughter Hari. Aunty is more than a neighbour with her much timely help and motherly affection. Hari is my favourite! :)
Hari made sure she mastered the art of making the sweet and went for at least half a dozen trial and errors. She sent me a sample of her every trial and I could visibly see the difference in the quality of sweet improving each time. Finally, the lovely mom and talented daughter summoned me home with all the ingredients of the all time delicacy. Since they handled the whole of stove top, all I did conveniently was the photo shoot! I realised how difficult it would be if I had tried the same and handled the photography single handed!


Ghee Mysore Pak


Mysore Pak
Yields 20 rectangles +/-
Total Time needed- 20-25 minutes

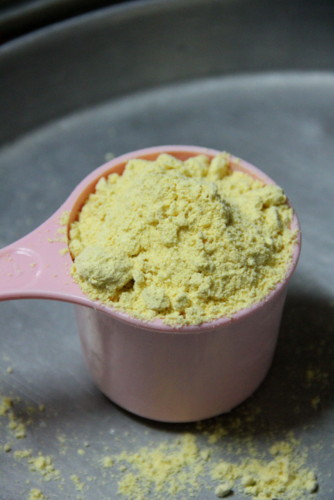
1 cup Besan / Kadalai Mavu-
2 cups melted ghee + 2-3 tbsp for adding in the last stage
1-2 tsps of ghee to grease the pan
2.5 cups sugar
3/4 cup water (this is related to quantity of sugar and not besan)


Ghee Mysore Pak
Measure besan


Ghee Mysore Pak
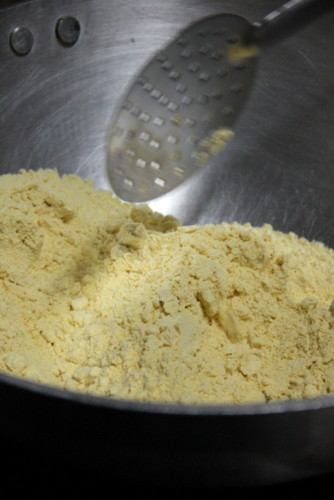
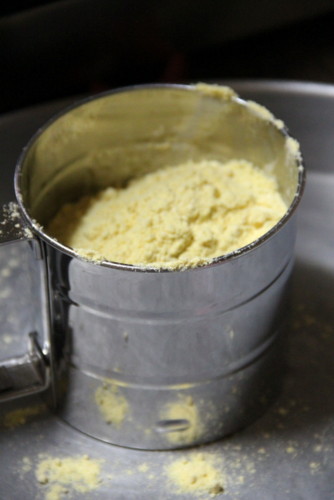
Dry roast lightly for a minute in medium heat, stirring continuously. Transfer to a dry tray. Besan should have slightly more than bearable heat if you do a 'touch test'.

Ghee Mysore Pak
Transfer besan to a metal sifter or to a metal sieve. (do not transfer to a nylon based sieve as it melts down due to the high heat of the besan!)
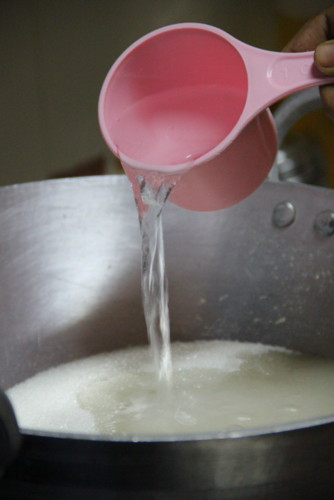

Ghee Mysore Pak
Transfer sugar to the same pan, pour water and let it boil together.
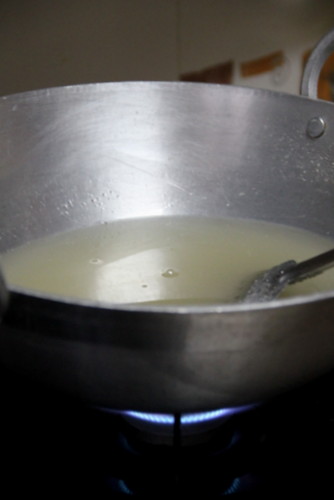

Ghee Mysore Pak
Stir now and then to dissolve sugar completely and minimise the flame to low.
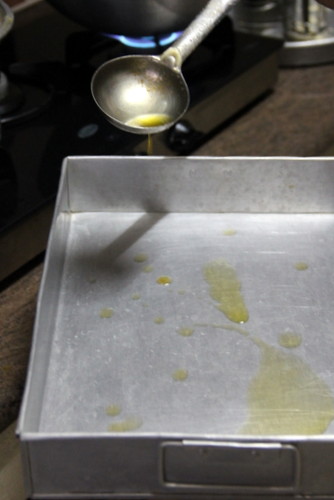

Ghee Mysore Pak
While the sugar and water mix comes to a boil, grease the pan with melted ghee. This is the pan onto which you need to transfer the piping hot mysore pak right from the stove
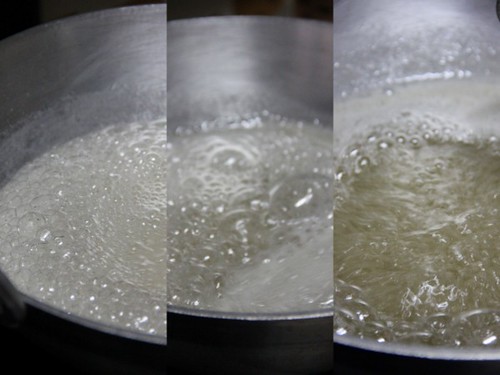

Ghee Mysore Pak
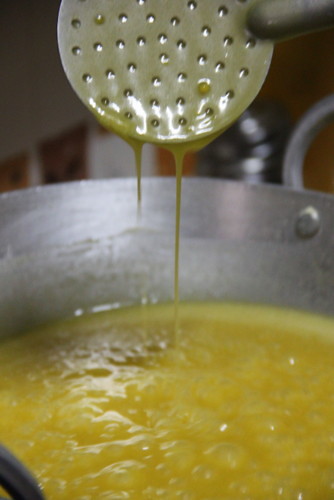
The stage to attain is 'one string consistency' or 'pisukku padam'. This is the most important part which decides the consistency of the final outcome. So, be very careful to get it right.
The sugar water solution, after a few minutes (say, 4-7 minutes, that is: medium heat until the crystals dissolve and later in low flame;) froths up, and comes to a rolling boil as in the middle picture. Keep the flame to minimum at this point and you can see the solution turning thicker. The three pictures were shot within a minute so the stage attains in seconds after the solution starts frothing!
The solution should be sticky if you feel a few drops between the tips of your index finger and thumb. The stage has reached in the third picture above. Since the liquid is really hot, take care not to burn your fingers.

Ghee Mysore Pak
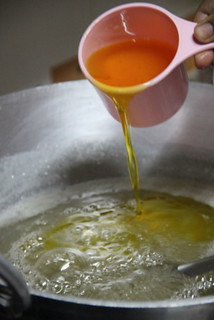
Immediately not letting to go to the next stage of syrup, add one cup of ghee.

Ghee Mysore Pak
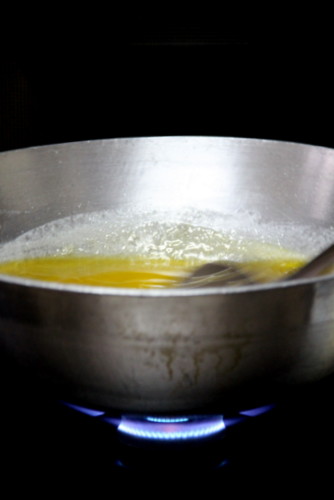
and mix well along.


Ghee Mysore Pak
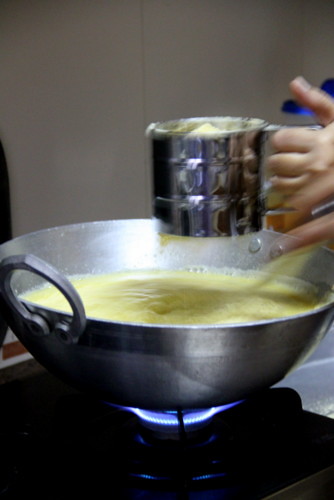
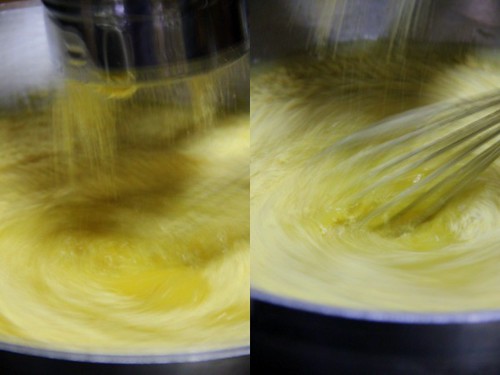
Sift in flour using sifter with one hand and a whisk to stir avoiding lumps, with the other hand.

Ghee Mysore Pak
The sifting in and vigorous mixing should take place simultaneously! It's better to have a helping hand if you are a first timer for this part!

Ghee Mysore Pak
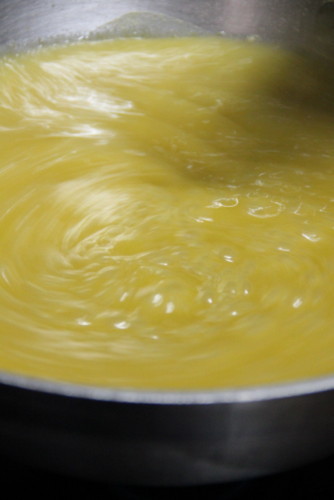
Whisk briskly at this stage.


Ghee Mysore Pak
You can use a flat headed ladle while it thickens.
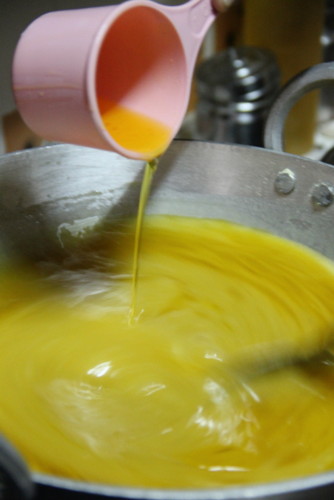

Ghee Mysore Pak
add the remaining one cup ghee 1/4 cup at a time between 3-5 minutes of continuous stirring.
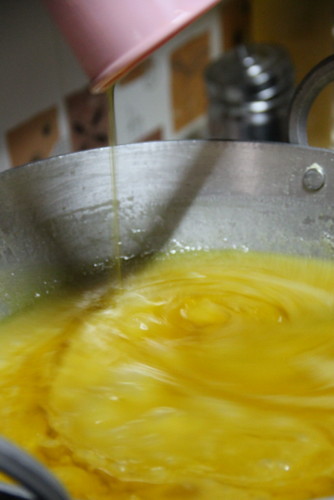
Ghee Mysore Pak
You will finish the ghee as 3-4 batches while stirring.
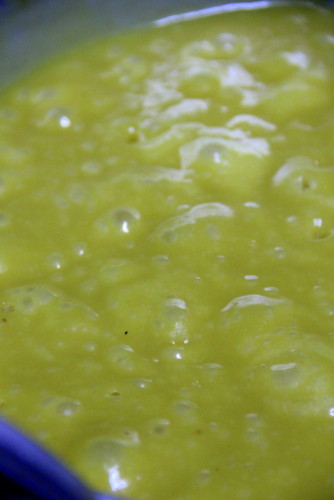

Ghee Mysore Pak
 Keep the flame low while the mixture starts thickening and bubbles up.
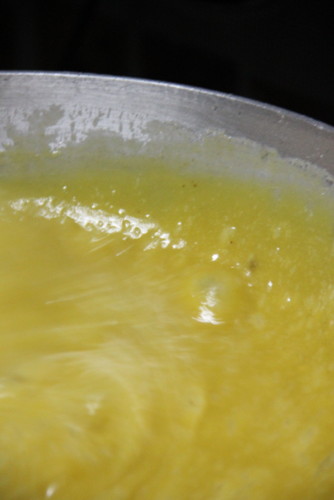

Ghee Mysore Pak
Continuous stir is the most important and a bit laborious task at this point.
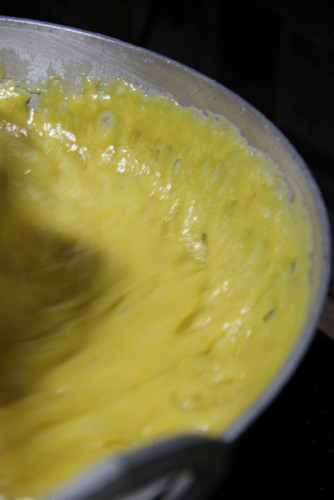

Ghee Mysore Pak
This stage attains within 2-3 minutes of the previous stage. Watch the edge of the pan while stirring. The mix leaves the edges or when you see 'honey comb like holes', appearing along the edges while stirring, the final stage has reached!
You may drizzle 2-3 tbsps of ghee at this point to make an extra rich Mysore Pak. But if you need to concentrate too much on the final stage, it's fine, skip it! :)
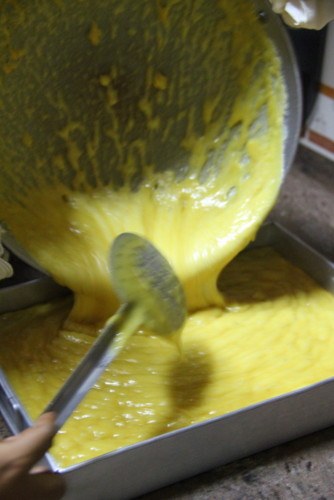

Ghee Mysore Pak
Transfer the hot lava :) to the greased tray.
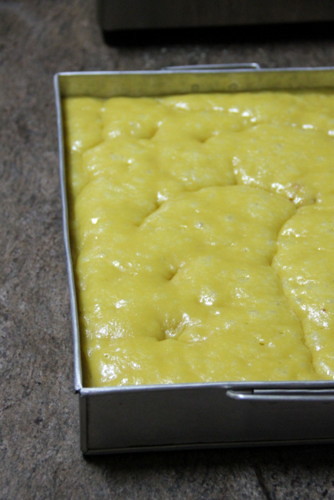

Ghee Mysore Pak
Its quite natural for the sweet to froth up soon after the transfer because of the high heat.
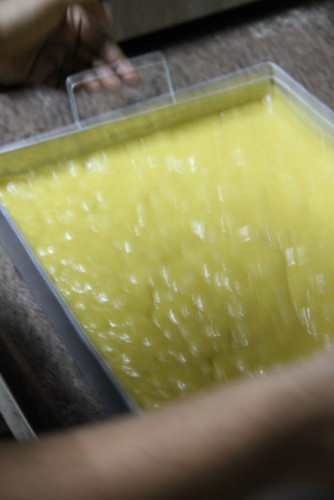

Ghee Mysore Pak
 If it does, tap the pan gently on the counter and it settles down!
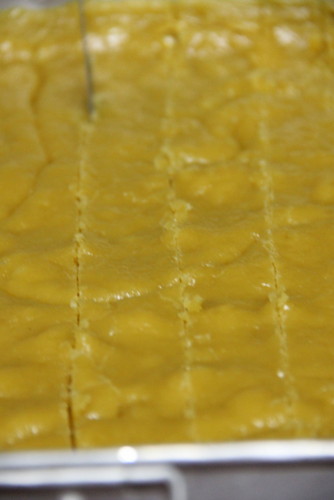

Ghee Mysore Pak

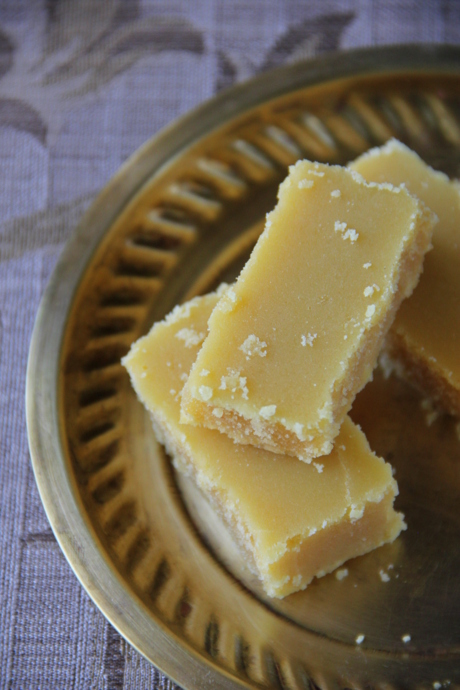
Cool for 10 minutes to get rid of the piping heat and slice mark nicely to the deep bottom. It is important to slice mark while the sweet is hot or very warm. The warm/cooled down sweet tends to break into powder and makes it tough to shape. Also, take care to slice mark deep enough to touch the base of the metal since the pieces may stick up again, due to the high heat around the base. You may not be able to slice perfectly as in shops. No worries, machines do for them :). Our imperfect rectangles are perfect heart warmers, instead :)


Ghee Mysore Pak


Notes: 

1. Mysore Pak made in non-stick pans lack the natural grainy texture. Hence we used Indolium pan. The sweet needs some crude heat with metal can offer and non-stick bases cannot!

2. 10 minutes was needed for attaining 'pisukku padam' ( the sugar syrup consistency) in low-medium flame when we tried double the quantity, of the above recipe.Therefore, for the above measurement I have written down, the time needed for the one string stage or the 'pisukku padam' will be around 4-6 minutes.

3. The sifting in and whisking process demanded 20 minutes when we made.

4. Hence the total time taken on stove was 33 minutes in exact for the doubled recipe. It may not get cut down to half the time if the recipe is halved ( the above quantity I'd mentioned), but will take around 20-25 minutes from start to finish.

If you feel the recipe explained so far, will give a very sweet mysore pak:

I tried with the measurement of 1:1:1 (besan : sugar : ghee) and it faired quite well. Just follow the same steps above while on stove stop. While making the surar syrup, add water enough to immerse the sugar. Reserve 1/4 part of the ghee to add to the pan just before you remove the sweet from the stove. This moistens and gives the sweet a better melt-in-the mouth texture.
This measurement will give you the rich ghee flavoured mysore pak which I personally prefer.

Ramaunty and Hari, this post would not have been possible with you two. I have no words to thank you both!

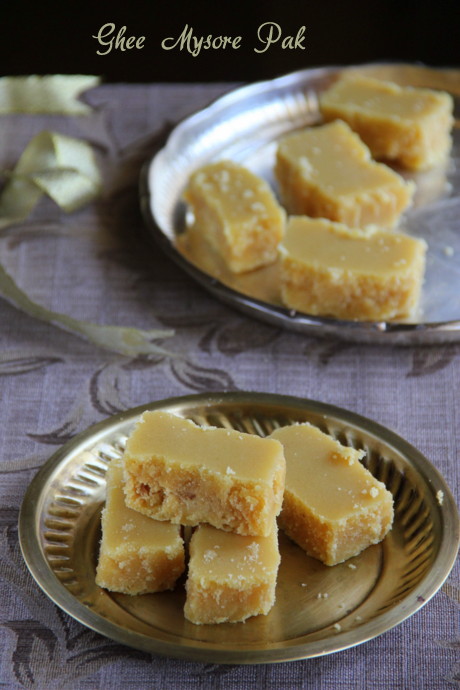
Ghee Mysore Pak


Read More »

Friday, October 25, 2013

Whole Wheat Sandwich Bread


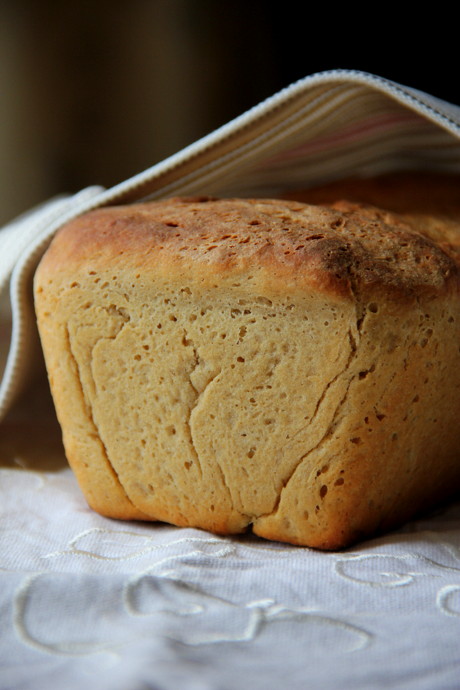
Whole Wheat Sandwich Bread

Whole Wheat Sandwich Bread


If the start of the month got me busy with Navarathri, the rest of the days kept me occupied with travel, weddings,  house visits and condolences to attend. I had to keep myself free for two whole days as the bread needed some planning of time to undergo the 3 interesting phases of preparation.

We, the We Knead to Bake memebers, have been asked to adapt Peter Reinhart’s recipe for 100% Whole Wheat Sandwich Bread from his book “Whole Grain Breads”. Peter Reinhart’s recipe uses a soaking procedure and the Biga/ sponge and that is the secret to the softness and texture of this bread.

If whole grain flours are soaked overnight, especially whole wheat flour, it breaks down the phytates in them, aids mineral absorption and makes them softer and more digestible. Other than that, it is important to knead the dough well to develop whatever little gluten there is in the whole wheat flour. Also be careful while shaping the dough into a loaf and make sure that you do not tear the risen dough as this will tear the gluten “cloak” that would have developed. Do see this video which gives you an idea on how to shape bread loaves. (http://www.thekitchn.com/how-to-shape-a-sandwich-loaf-o-108773 )
This bread is not really difficult to make though it requires a little bit of planning as the Soaker (at room temperature) and the Biga/ Sponge (refrigerated) have to be made and rested for at least 12 hours. After this they can be kept refrigerated for about 2 days before baking them into bread.
Aparna made a few changes to the original recipe and here a few reasons why she did it.

The first change was to use water to make the 'Soaker' instead of milk because she wasn’t comfortable leaving dough mixed with milk on the kitchen counter overnight because it might spoil in my tropical temperatures. However, milk contributes to the softness of bread, so she used milk instead of water in my Biga/ Sponge which would be refrigerated and so be safe.
Then she added a little vinegar to the Soaker and the Biga/ Sponge. Vinegar tends to increase the acidity of the dough which, within limits, helps gluten development and contributes to the “bready” texture. She also added a bit of Vital Wheat Gluten, but not too much (see further down in this post), and some oil. All these helped to make a 100% whole wheat loaf which she felt was better and softer in texture.

About which whole wheat flour to use, we don’t have much choice in this matter in India. If you can find it, use fine milled whole wheat flour, the real “Chakki” ground Atta and not the packaged stuff. Packaged Atta doesn’t give the best results for whole wheat bread but when one has to work with whatever is available, you can use it and bake a fairly decent whole wheat bread with it. I used the Pillsbury Gold whole wheat flour which I use to make chappathis, to make this bread.
You can make this bread without VWG as the soaking and the Biga/ Sponge and the honey and milk are all supposed to make it soft and give it a really good texture. (I comfortably avoided VWG :))


Whole Wheat Sandwich Bread


100% Whole Wheat Sandwich Bread
(Adapted from Peter Reinhart’s Whole Grain Breads)

Ingredients:
For The Soaker:
1 3/4 cups whole wheat flour
1/2 tsp salt
3/4 to 1 cup water at room temperature
1 tbsp vinegar (apple cider or plain)

For The Biga/ Sponge:
1 3/4 cups whole wheat flour
1/4 tsp instant yeast
3/4 cup milk (or a little more)
1 tbsp vinegar (apple cider or plain)

For The Final Dough:
All of the Soaker
All of the Biga/ Sponge
1 1/2 tsp Vital Wheat Gluten (optional)
1/2 to 3/4 tsp salt
1/3 cup whole wheat flour (and a few tbsp. more if required)
2 tsp instant yeast
1/8 cup oil (or melted butter if preferred)
2 tbsp honey

Method:

How to make Biga/Sponge
The recipe suggests to make the Soaker first, I did the other way round. I chose to knead the Biga/sponge, first as it keeps well for 3 days under refrigeration. The Soaker is left outside and once you prepare that, you need you work within 24 hours.

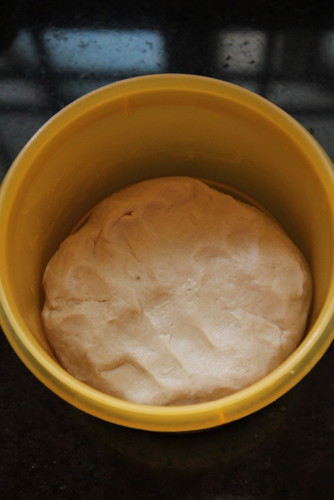
Mix all of the Biga/Sponge in a bowl and knead together well till a soft ball forms.Cover and refrigerate for at least 8 hours or overnight. This will keep for up to 3 days.

Whole Wheat Sandwich Bread


How to make the Soaker.
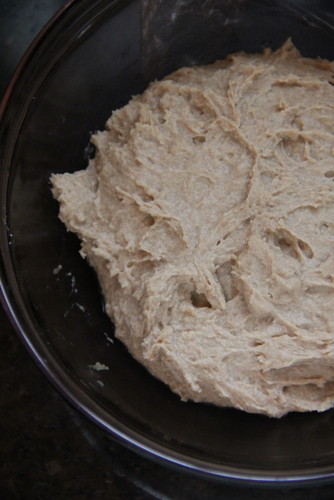
Mix all of the Soaker ingredients together in a bowl until all of the flour is hydrated.
Start using 3/4 cup water and then adding a little at a time, until you have the desired consistency. Cover the bowl loosely with plastic wrap and leave at room temperature for 12-24 hours.

Whole Wheat Sandwich Bread


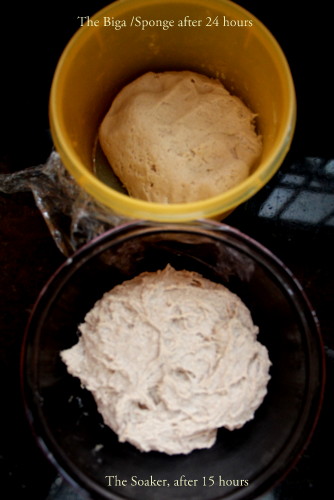
Two hours before you plan to mix your dough for the bread, remove the Biga from the refrigerator and allow it to come to room temperature. You might find your Biga rising a little during this time. Below is the Biga, resting in room temperature after 24 hours of refrigeration.

Whole Wheat Sandwich Bread


Both the dough, at a glance just before the final mixing up.

Whole Wheat Sandwich Bread


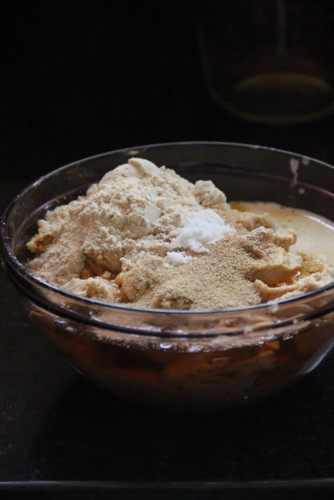
Divide the Biga and Soaker into small pieces (about 12 pieces each) using a sharp knife or scraper and put them in the food processor bowl (or stand mixer). You can knead this by hand too, but the dough will be tacky and a little difficult to manage. Do not be tempted to add more flour, when it is time to, than necessary.
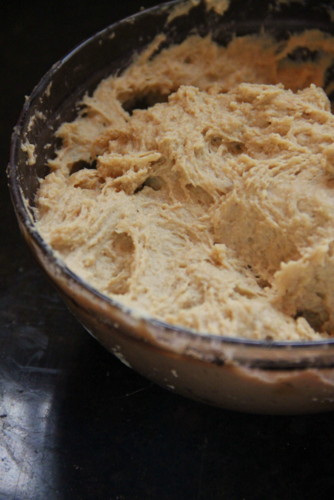
Add the remaining ingredients for the dough, except the 1/3 cup flour and knead for about 3 minutes. I added the flour accidentally, but please don't do it :)

Whole Wheat Sandwich Bread


Let it rest for 5 minutes, then add as much flour as needed (if necessary) to the dough and knead for another 3-4 minutes. Your dough should now come away from the sides of the bowl but still be a little sticky but somewhat manageable. It’s really important to not add too much extra flour during this step.

Whole Wheat Sandwich Bread

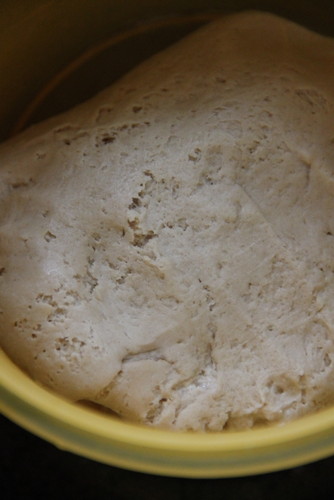
Place the dough in a lightly oiled bowl and let rise until almost doubled (about 1 1/2 hours). I missed to click the picture of the first rise :(
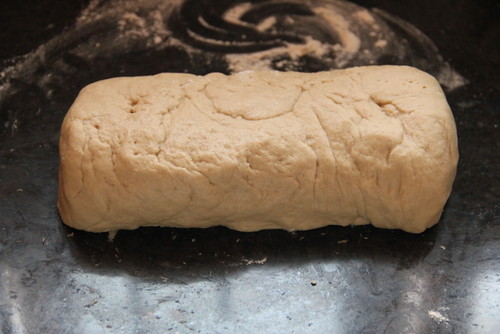
Turn out the dough onto a lightly floured surface and pat the dough out into a rectangle with a width that just a bit less than your loaf tin. See that you do not tear the dough. Roll it up and shape into a loaf.

Whole Wheat Sandwich Bread


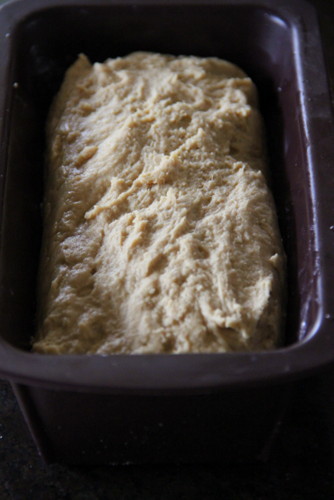
Place your loaf in a greased and floured loaf tin (I used a 9” by 4” silicon bake ware. But I suggest to use a metal loaf tin)

Whole Wheat Sandwich Bread

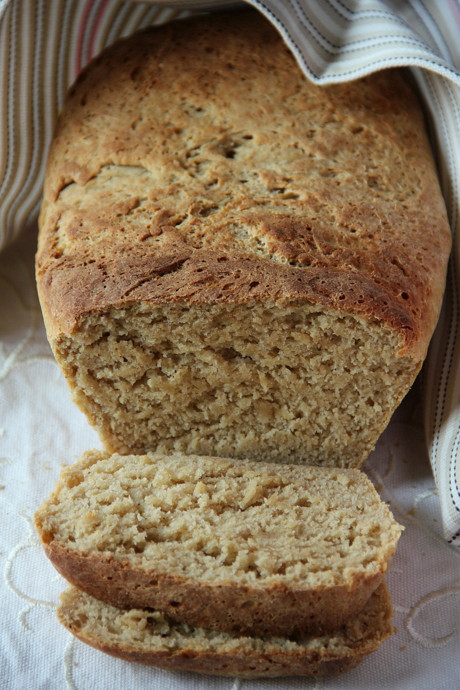
and let it rise until it is just higher than your loaf tin. Bake the loaf at 180C (350F) for about 40 to 45 minutes until the top is a nice deep brown colour and the loaf sounds hollow when tapped.


If you are searching for those proper photos, I missed to capture both the risen dough in the bowl (first rise) and the well risen dough in the loaf pan (second rise) I clicked pictures in my mobile to send to my sis and drowned in the excitement I got confused and thought I clicked with my cam! Anyway, the above is an unedited, crude mobile shot :) as a proof to display the well risen dough. It rose quite fast and well!


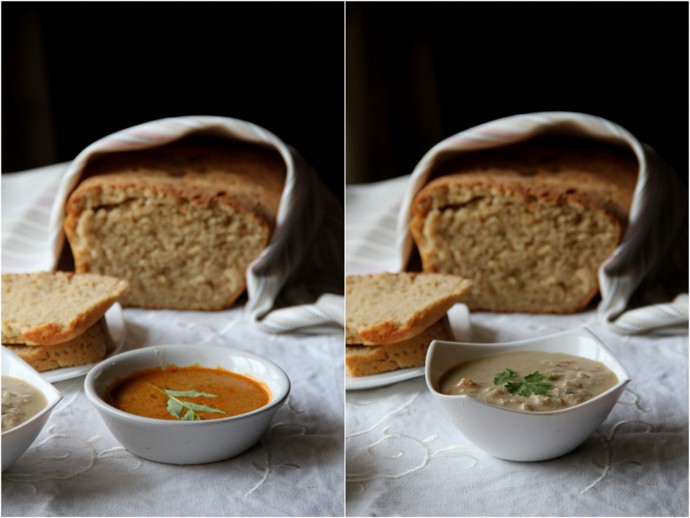
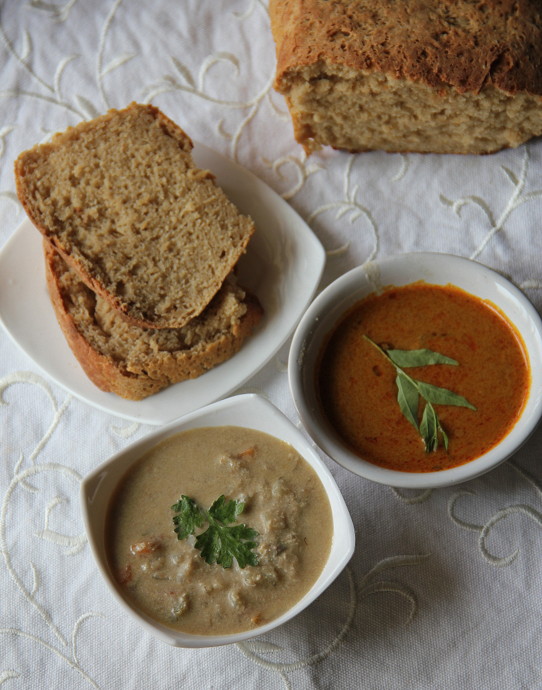
How I served the bread!

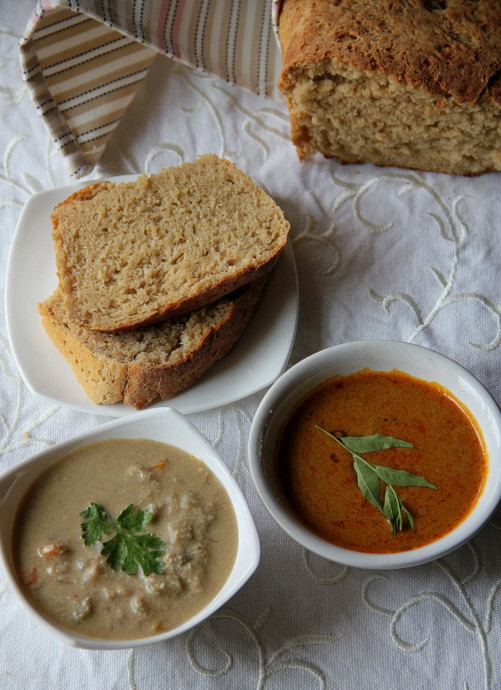
Whole Wheat Sandwich Bread

Whole Wheat Sandwich Bread

Among all the bakes, I am an expert at and in the learning phases, whole wheat sandwich bread should be the one I should be regularly baking as it falls in our dinner menu. Toasted brown bread with white vegetable khurma and the red spicy khurma with an over load of whole spices and no vegetables. While children love the red dip and V vouches for the white one I enjoy the combination of the two! I left the slices un-toasted this time!


Read More »

Tuesday, October 8, 2013

Konda Kadalai Sundal for Navarathri


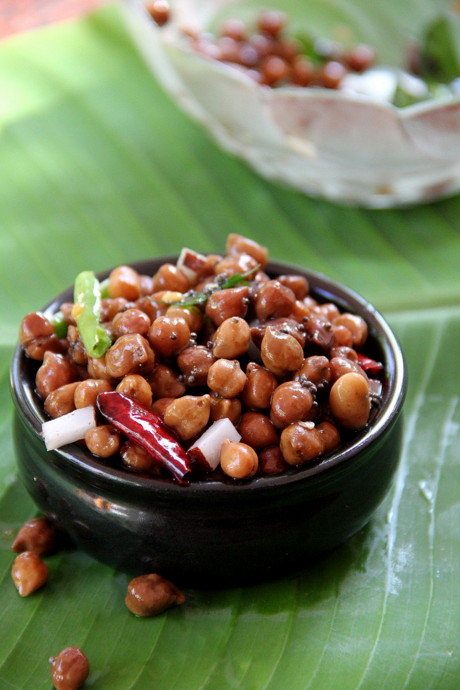
Konda Kadalai Sundal


I amn't really very religious by nature. I do follow the festivals and recipes to the dot since I love that part of them. Navarathri is such a festival I enjoy visiting houses where I am invited, appreciating the 'Kolu', singing, exchanging 'kumkum' and flowers and savouring 'Sundal' prasadams. These days I am getting to know much about how the 'sundals' are related to the Navagrahas(the 9 celestials) and 'Navadhanyams' or the 9 cereals/pulses/legumes for the 'Navarathri' or the '9 nights' festival!

It's interesting!

SundaySooriyan – Sun: Godumai (Wheat)
MondayChandran – Moon: Arisi (Rice)
(since it is not practical to make sundal out of these, generally they are broken and made as 'payasams' or 'puttu' as 'neivedyams')
TuesdayAngarakan – Sevvai – Mars: Thuvarai (Thuvar Dhal)- Sundal can be made. Here's how I made with whole Thuvar grams.
WednesdayBudhan – Mercury: pasi Payar (Green Gram)- Sundal can be made.
ThursdayGuru – Jupiter: Kadalai (Channa dal) or Konda Kadalai (Whole Channa or Cow peas) Recipe featured for today below!
FridaySukran – Venus: Mochai (White Dolicho Beans)
SaturdaySani – Saturn: The tiny black Ellu seeds (Sesame Seeds) neivedyam can be 'ellu urundai' or the sesame seed balls.
8th day of Navarathri – Rahu: Kollu (Horse Gram)
9th day of Navarathri – Ketu: Uzhundu (Whole Urad )"Vadai" can be made. Here's the recipe for Vella Vedai made with a combination of jaggery and urad.

 The recipe for today is  Konda Kadalai Sundal, the Thursday's 'neivedyam' or the offering for Guru.

Read More »

Thursday, October 3, 2013

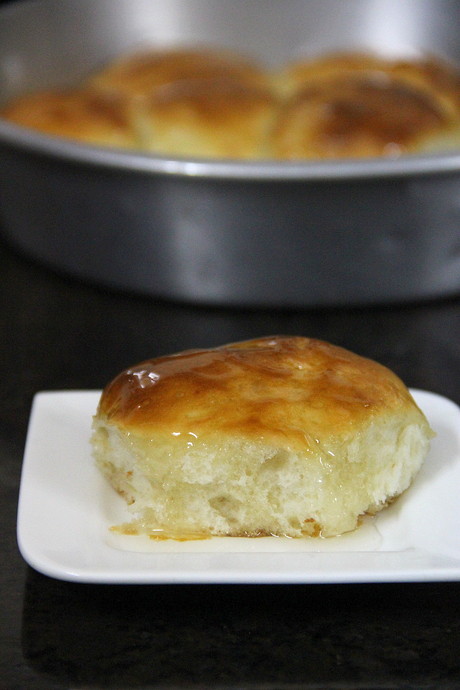
Khaliat Nahal ~ Honeycomb Buns or Bees Hive Buns


Khaliat Nahal


This month, the We Knead to Bake Group got lucky to choose baking bread that can be made sweet or savoury. It is easy enough to make and what is unusual is that it is filled and then covered with a sugar syrup/ glaze which is typical of Middle Eastern confectionery.
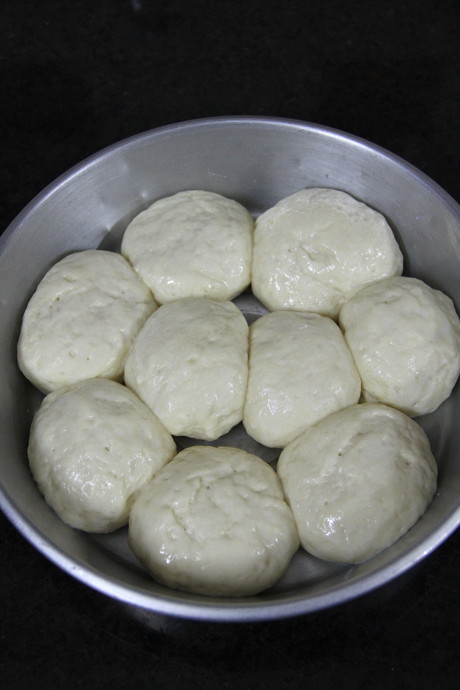
Khaliat al Nahal (also known asKhaliat Nahal) translates as Bee’s Hive in Arabic. This is because the buns are baked close to each other in a round pan where they form a honeycomb like pattern. They’re traditionally made sweet and glazed with honey flavoured syrup, though savoury versions are also made.
This recipe makes 18 smallish buns, and if you want fewer you can halve the recipe to make about 9 or 10 buns. For half the recipe, use a 6” or 7” round cake tin to bake the Honeycomb Bread. You can also bake them individually in muffin tins if you prefer, except they would not have their characteristic “honeycomb” pattern.
Traditionally, the filling used in this bread is a small piece of plain cream cheese but here choice of filling is optional. You can make it sweet or savoury.

Khaliat Nahal


Read More »
Related Posts Plugin for WordPress, Blogger...