Homemade Butter.
Doesn't that sound good?
Honestly I am never prompted to buy the variety of butter they sell out there. I make it home once a month and use it for cookies and cakes, which you can probably see popping up in this space. Somehow I feel it's a much healthier option with that bursting natural flavour.
Making butter from the scratch seems to be elaborate but once you get the hang of it, believe me you will end up doing it again and again.
Time and patience is yet another factor needed to whip butter at home.
Hold my hands and get ready for the journey and I will explain you every single thing about it :)
....I swear, it isn't at all a tough process!
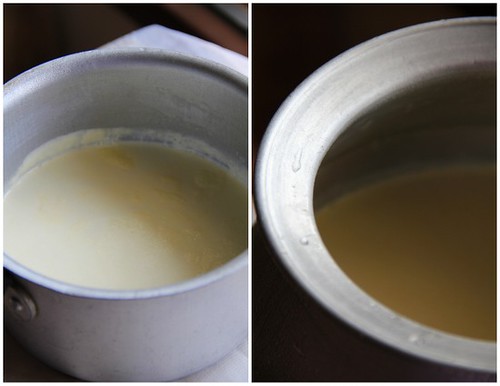
Well, first of all you need to boil milk. Remove from the stove and let it cool down. Do not close it with a lid now. Refrigerate it for a day and you can see the cream layer formed on top. Open milk forms more cream in the fridge as well. But please close it with a loose lid if you have a variety of food items in the fridge to avoid any flavours seeping in the milk.
For boiling bilk you can use a milk pan, a pot or a milk cooker. Greater the surface area, larger the yield of cream.
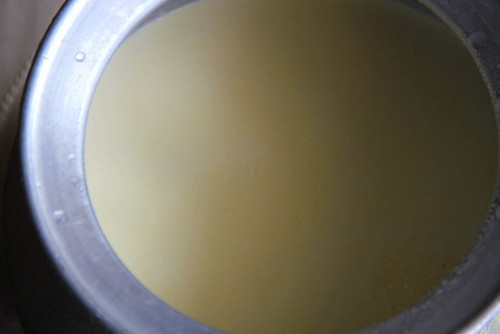
Let the milk we start with be natural and contain at least 4.5% fat.. Cow's milk is the best! More the fat content, better the cream.
As you can see, I use standardized Aavin milk (with 4.5% fat content). Once the cream is skimmed off you can use the milk. So no worries about the full fat milk, it's all for the cream.
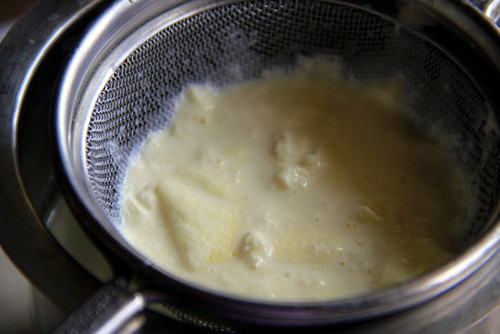
So, the cream which has formed on the boiled milk refrigerated for not less than 20-24 hours, has to be separated by a metallic sieve with preferably larger holes. Or else the milk wont pass though. Let the milk be cold at this stage so that you can collect all the cream.
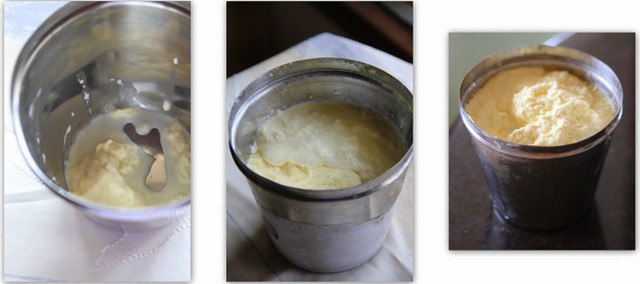
Transfer the cream you have separated in an air tight container every time you skim. Store in the freezer compartment.(This is important) Keep collecting until you have fairly good amount of cream. Here I have a little more than 1 kg of frozen cream.
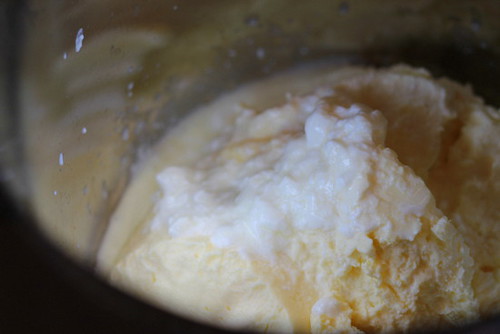
De freeze cream. (just place it on your kitchen counter and let it hit the room temperature). Shake off and topple the entire cream to another vessel which is large enough.
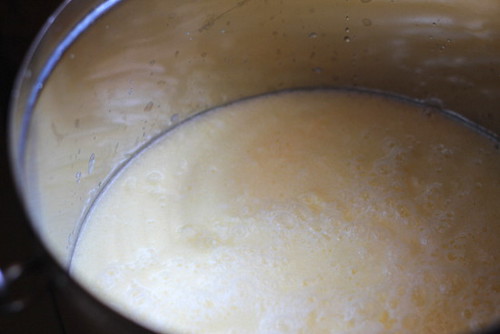
Pour water and mix to combine. Stir a table spoon of sour curd into this mixture and leave it closed for 3-4 days. Stir it well twice a day with a long ladle. For the Indian std temperature (here I have 30-32 deg C of avg room temp) it needs 3-4 days. I am not quite sure about the time needed for other regions. Sniff the cream and it would have a pungent sour smell and you have reached the point. I have 4 litres of sour / fermented cream now!
1 kg of cream -> 4 litres of sour/fermented cream.
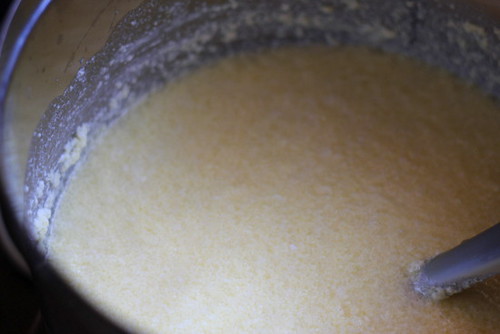
You will also notice the cream turned grainy and sticking on to the sides of the vessel.

Refrigerate until cold. Give a stir.
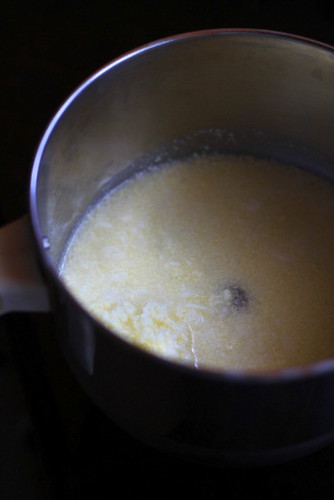
and transfer 200ml into your juicer jar. If you have a longer and larger jar, you can pour more amount in

pour 200ml of water. Be sure you don't fill more than 2/3rd of the jar. IF you have a kitchen aid, it should work perfect! I haven't tried it but am sure!

The water need not to be cold. Since we have the cream cold, it will get neutralised. You can see the grainy butter clearly now.
[If you don't see likewise, it means your cream has not turned enough sour.Don't worry, you can keep it for another day on your counter top and it will be fine. If it's not sour enough, stir in another tablespoon of sour curd]

Run the blender. Did you see the fresh butter floating
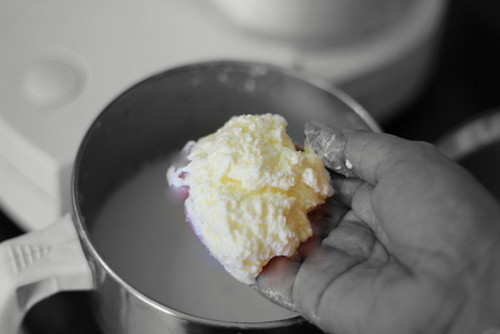
Scoop out using your fingers by that twist and roll...you know :)

and place the butter in wide container filled half with cold water.

Pour the sour cream. Run the blender..
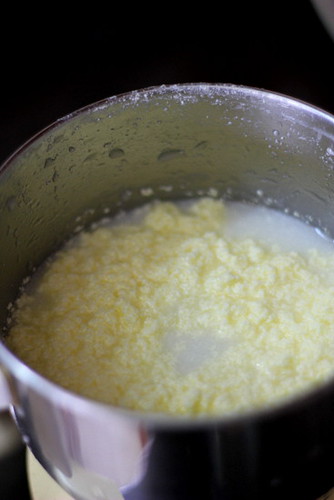
Ah! better yield this time, I guess!
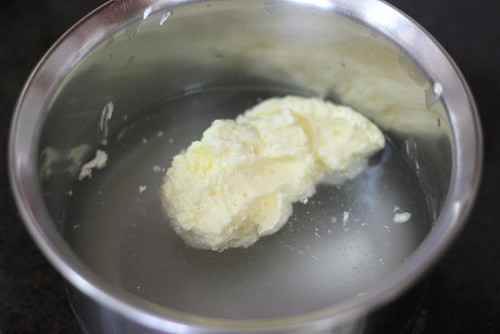
Scoop out and collect in that same vessel you placed the first ball of butter.

The butter milk from which you have removed the butter
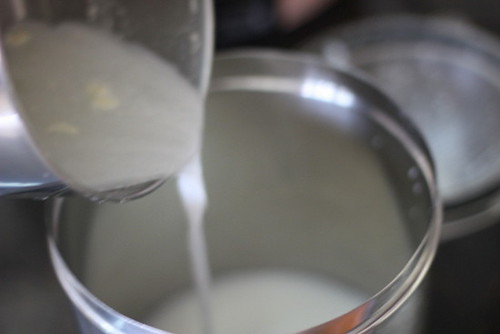
has to go it another clean and large vessel. Don't bother to collect even the tiniest speck of butter. I have an idea which I will reveal soon...
Not a great picture, I know. had to struggle with the butter smeared fingers while pouring this out..well much better experience than the left handed shot with that ball of butter in the right hand...
Hindu Gods, I truly envy you!
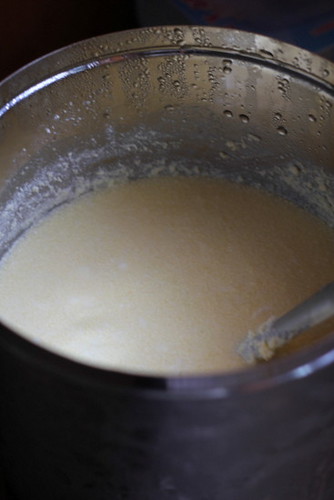
Repeat the process, stirring the sour cream each time you fill the jar
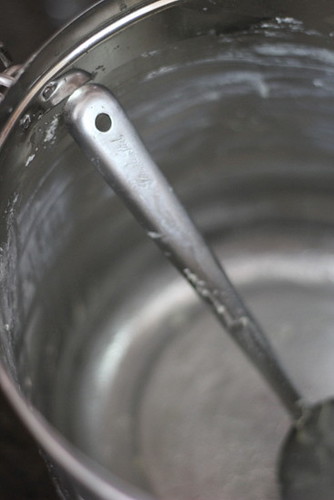
Until you are done with the last drop of the sour cream!
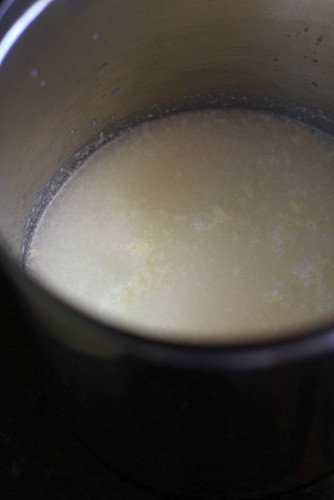
The 4 ltrs of sour cream is in the other avatar now. The butter milk. the level getting increased in the other container. The yield will be 8 ltrs
To put it easy, since I churned 200 ml of sour cream with 200 ml of water each time, I ended up with double the amount of butter milk.
So, 4 litres of sour cream -> 8 litres of thin butter milk
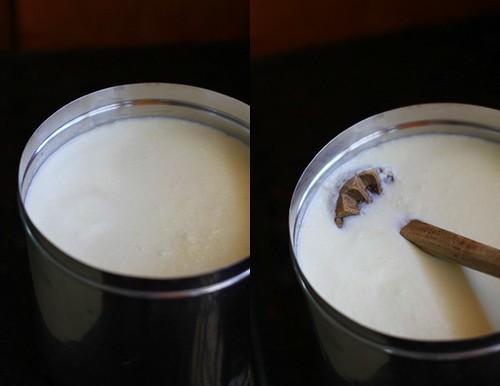
Ah! now you have a pretty good amount of butter milk. Throw in a ...ah what do you call this? a hand butter churner? we call it 'matthu' in Tamil as well as in Malayalam.
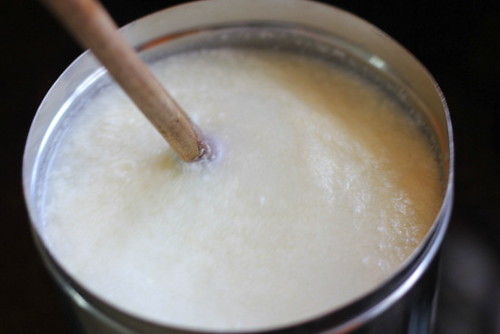
Dip and churn.
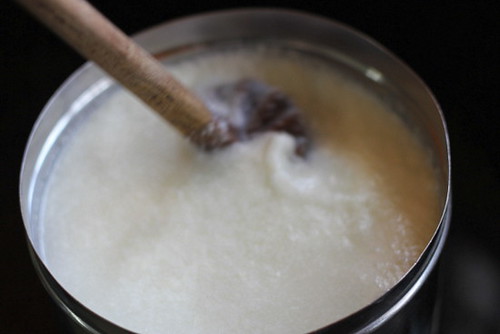
Can you imagine how I clicked this picture? Don't ask me about it :)
Fine, after a few churns IN the buttermilk as in the previous step, bring it out and churn superficially, with its head half in the liquid and half out. Do not bring it completely up and churn.Or else you may see fine white polka dots appearing on your apron ;)
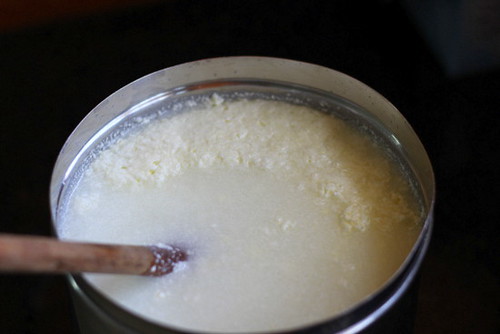
There you go.This is nothing but the specks of butter you would have missed to scoop out clean from the jar. You can do it now! the final scooping!
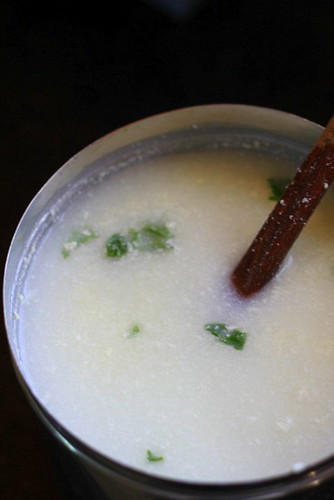
Spice and pep up the buttermilk .Throw in a tsp of hand crushed jeera, 1/4 tsp of hing, a few curry and coriander leaves and of course salt to taste. Mix well to combine and gulp a large glass of it. You will realise how comforting it is, especially in a hot summer noon!
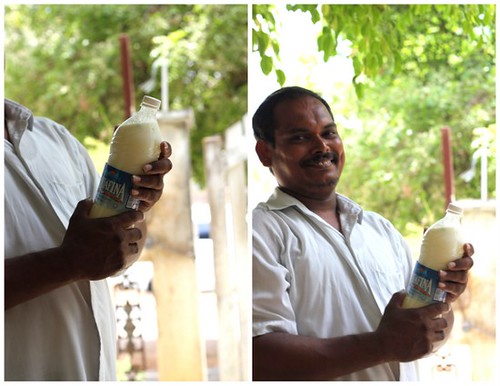
Since I had an over load the first bottle went to Kannan, the happy guy who presses clothes by the corner of the street..
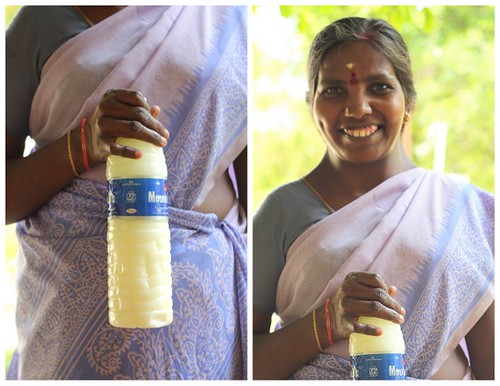
and to Chithra my cheerful and sincere helper.
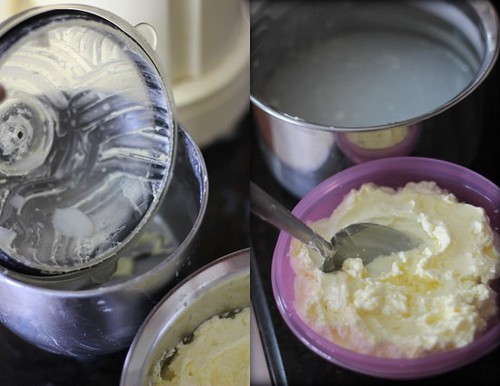
Getting back after the disposal of the butter milk, we need to remove any butter sticking to the jar, blades and lid and add to the collected butter with our finger tips. Pour some cold water to the collected butter in the container and rinse gently with a spoon to get rid of the remains of butter milk. Transfer to a freezer friendly container. Pour some more water, rinse and drain water.
The Homemade Butter~ flavourful and light!
Ready to be frozen.
And the final equation
diluted and fermented to churned to yields
1 kg of thick cream -> 4 litres of sour cream -> 8 litres of thin butter milk-> 1/2 kg of homemade butter!
I came across this video clip about how to make butter from cream. I haven't tried this method but feel should work. A much easier way to whip out butter instantly!



OMG.. this is one awesome post and brilliant effort to picture it nicely. Hats off to you lady. you really rock I say. Love you :)
ReplyDeleteAnd yes I need butter for all the above lines I typed :P
LOL :D
DeleteReal patience Bharathy
ReplyDeleteI LOVE this post! i am very inspired to follow this now. please stop me!
ReplyDeleteI had you on my mind all the time I prepared this post. while making butter and drafting the post!! I WANT YOU TO TRY!!! :)
DeleteButtery delight...one bottle of that refreshing buttermilk for me as well :)
ReplyDeleteJust one, Sanjeeta? :)
DeleteWow,I've seen my mil preparing this on a weekly basis.She just leaves the cream+curd for a day though,or rather a night.It churns beautifully.I've wanted to try it too for the longest time,but you know:).Hats off to the step by step portrayal:)
ReplyDeleteAwesome post..might be d best post of milk->butter journey I hv come across..:)Never attempted to do in this large scale..kudos 2 ur detailes post..
ReplyDeleteBeautifully explained bharathy. I know how difficult it is to take step wise pictures esp for a buttery post like this. cute clicks.I love the nice smile in Chitra's face.Nicely captured
ReplyDeletelovey post.. very detail one.. Also u really have great patience to do this detail process :-) This brings back my old memories (of they do it in my grandmother place :-))
ReplyDeleteGreat-secret-of-life.blogspot.com
awesome effort :) well executed :)
ReplyDeleteI was just thinking today morning about the thick cream I get everyday in my milk.Wonderful explanation!
ReplyDeleteSuper post :) loved all the clicks very much!
ReplyDeleteI highly doubt if I will ever do this. Not even seen Amma do all this. But if I ever start doing so, it is because of this post!! My my! What explanation and pics. And you are so good hearted, you know. Those people would bless you loads, for giving buttermilk!
ReplyDeletewow...patiently explained bharathy... well made... my sithi too make like this... really you r patient to do it... lovely...
ReplyDeleteVIRUNTHU UNNA VAANGA
Wow.. such a detailed post.. thanks for sharing bharathy.. the butter looks so creamy and soft!!
ReplyDeleteLovely post chechi, hats off to ur patience n effort. I remember my granny doing all these in the middle of we 3 naughty kids. Its such a fine art to watch that we miss to see these days. loved all those pics, so well captured..
ReplyDeleteVery nice post Bharathy. i have not made it with milk. WIll remember to refer to it.
ReplyDeleteI always make my own butter but mainly to make ghee out of it. I have been wanting to do a post like this as many people really don't know how to do this. Great job! Love all the photos and it's step by step nature makes it easy for people to understand :)
ReplyDeleteExcellent post..so beautifully described..tempts me to try it soon..my mom used to make butter at home..
ReplyDeleteI make my own ghee from store bought butter.Mom used to make it this way. Lovely post and great clicks :)
ReplyDeleteThis is SO cool! I didn't even know you could make your own butter at home. Thanks for an amazing post and the step-by-step pics. This is why we love you and your site. I loved all the pictures including the the last ones of Kannan and Chitra... those made me smile. :) Lovely!
ReplyDeleteI saw this update on some other site and I was intrigued. And now, I'm shocked. Not the normal shocked. The dramatic open mouthed shocked! How did you even do this?! (yes, don't tell me see the pictures. I saw. :D) You're brilliant!!
ReplyDeleteUseful post and homemade butter stand for its originality..love your clicks and thanks for the video link..
ReplyDeletethats such a cool post bharathy!! i m so inspired to make my own butter albeit a lil scared. But will make some anyway ... i appreciate all the efforts that went into churning, clicking and churning for our benefits!!
ReplyDeletevery nice and informative post. appreciate your step wise. very helpful...
ReplyDeleteSowmya
http://nivedhanams.blogspot.in/
Heaven in a few simple bites
ReplyDeletekeralaflowerplaza.com
this was a post i was waiting for from you! and you made a neat job! step wise pictures with minute details and the buttermilk being given to your helpers and their smiles! oh..i have not seen such a detailed and satisfying blog post or recipe post anywhere!!!!! Hindu gods bless you for this job!!
ReplyDeleteHOLLY MOLLY! There is nothing like home made butter straight from milk...this reminds me of my grandmamma who used to make home made butter and every time she made it she would allow me to have the first taste..
ReplyDeleteit also reminds me of the vennai you get at krishna temples..
super love this one...
your post is fascinating / lovely illuminating pictures / i have recently experimented with making butter / i get raw milk from a local dairy / the cows who produce the milk are Jersey Browns known for the richness of their cream so all i have to do is let the cream rise to the top and pour it off to use in my coffee / hmmm / i thought one day why cant i make raw butter from the raw cream ? i dont have the quantity that you do so my first attempts have only produced a small amount of butter / after reading your post i plan to save and freeze enough cream to have more ! thanks for a very inspiring post (tomorrow i pick up my weekly gallon and a half of milk / each half gallon yields about a pint of heavy cream / yummy)
ReplyDeleteNice to learn making natural curd from milk.
ReplyDeletebest vegetarian restaurants in hong kong